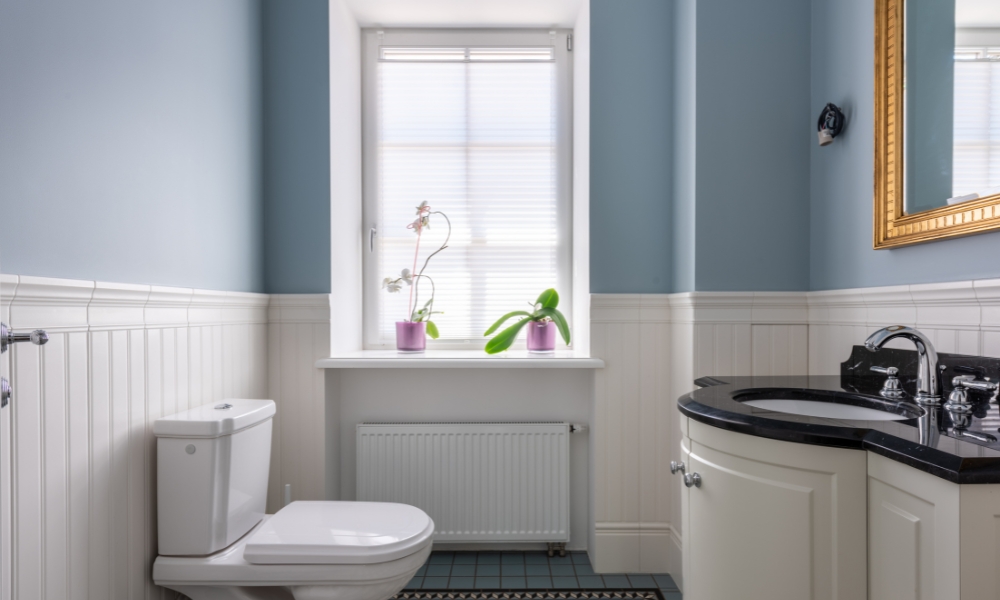
Fixing a sink to a vanity unit is an essential skill for any DIY enthusiast or homeowner looking to upgrade their bathroom without hiring a professional. This straightforward task not only enhances the aesthetics of your bathroom but also ensures the functionality and stability of the sink. Whether you are installing a new sink or replacing an old one, learning how to fix a sink to a vanity unit involves understanding the correct techniques, tools, and materials required for a secure fit. In this guide, we will walk you through the step-by-step process, providing practical tips and expert advice to help you achieve a seamless and durable installation.
What Is The Most Durable Material For Vanity Units?
When considering how to fix a sink to a vanity unit, selecting the most durable material for the vanity unit is crucial for longevity and performance. One of the most durable materials available is solid wood, which offers exceptional strength and resilience against wear and tear. Solid wood vanity units can withstand the rigors of a busy bathroom environment, including exposure to moisture and daily use. Additionally, high-quality hardwoods like oak and maple are particularly favored for their robustness and classic aesthetic appeal. These materials not only ensure the durability of the vanity unit but also contribute to a timeless and elegant bathroom design.
What Is The Best Wood For A Vanity Unit?
Choosing the best wood for a vanity unit is another important consideration in the process of fixing a sink to a vanity unit. Among the various options, teak stands out as an excellent choice due to its natural water-resistant properties and stunning grain patterns. Teak wood’s inherent oils make it highly resistant to moisture and decay, which is ideal for bathroom settings. Alternatively, walnut and cheident in both the functionality and visual appeal of your bathroom furniture.
Tools And Materials Needed
- Sink
- Vanity Unit
- Silicone Sealant
- Adjustable Wrench
- Screwdriver
- Plumber’s Tape
- Measuring Tape
- Level
- Caulking Gun
- Basin Wrench (Optional)
Steps To Fix A Sink To A Vanity Unit
1. Prepare The Vanity Unit

Preparing the vanity unit involves several essential steps to ensure a smooth and stable surface for mounting the sink. Begin by assembling the vanity according to the manufacturer’s instructions, ensuring all components fit together securely. Use a level to check that the vanity is balanced and adjust the feet or leveling legs as needed to achieve stability. Inspect the drawers and cabinet doors to ensure they open and close smoothly without any obstructions. Clean the surface of the vanity thoroughly, removing any dust, dirt, or debris. If necessary, reinforce the vanity with additional support brackets or reinforcements to accommodate the weight of the sink. Finally, double-check all connections and make any necessary adjustments to ensure the vanity unit is sturdy and ready for the sink installation process.
2. Attach The Faucet And Drain Assembly To The Sink

Before positioning the sink on the vanity unit, it’s easier to attach the faucet and drain assembly. Follow the manufacturer’s instructions to securely mount the faucet onto the sink. Next, install the drain assembly, ensuring all gaskets and seals are properly aligned to prevent leaks. Tighten the components firmly, but be cautious not to overtighten and crack the sink.
3. Apply Sealant

Apply a bead of silicone sealant or plumber’s putty around the underside edge of the sink. This sealant will create a watertight barrier between the sink and the vanity unit, preventing water from seeping underneath. Make sure the sealant is evenly distributed to avoid any gaps that could lead to leaks.
4. Position The Sink
Carefully place the sink onto the vanity unit, aligning it with the pre-cut holes for the faucet and drain. Press down gently but firmly to ensure the sealant spreads evenly and creates a secure bond. Double-check the positioning to make sure the sink is centered and level on the vanity unit.
5. Secure The Sink

Depending on your sink and vanity unit design, you may need to use clips, brackets, or screws to secure the sink in place. Attach these fasteners according to the manufacturer’s instructions, ensuring the sink is firmly anchored to the vanity unit. This step is crucial for the stability and longevity of the installation.
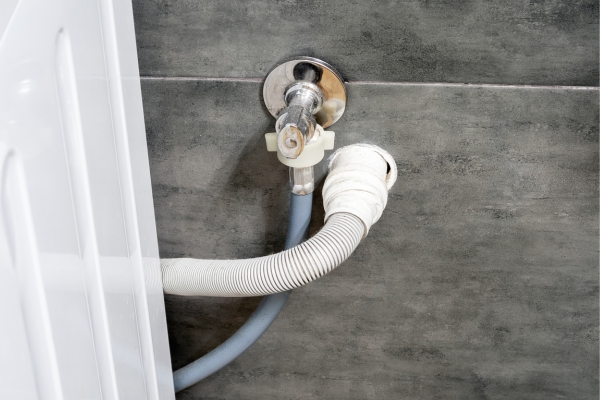
6. Connect The Water Supply Lines
Finally, connect the water supply lines to the faucet. Use adjustable wrenches to securely attach the hot and cold water lines to the corresponding valves. Turn on the water supply and check for any leaks. Tighten connections as needed to ensure everything is watertight. Once you are satisfied that there are no leaks, clean up any excess sealant around the sink, and your installation is complete.
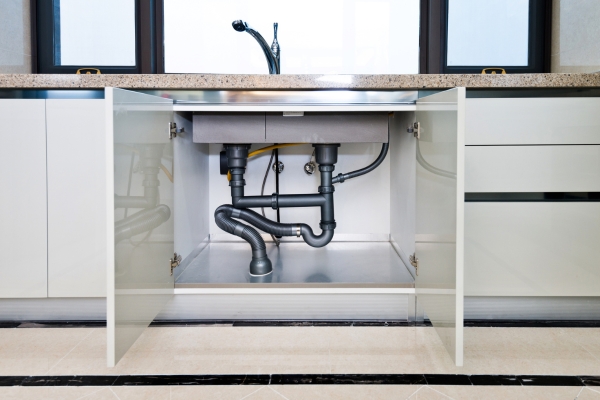
7. Connect The Drain
Attach the P-trap to the drain assembly under the sink, making sure all connections are tight and secure. Use plumber’s tape on the threads to ensure a good seal. Align the drain pipe with the waste line and tighten the slip nuts to hold the assembly in place. Ensure the drain is securely connected and free of leaks.
8. Check For Leaks
Turn on the faucet and let water run into the sink. Check all connections under the sink, including the drain and water supply lines, for any signs of leakage. If you find any leaks, tighten the connections or apply additional sealant as necessary. It’s crucial to ensure all components are leak-free to prevent water damage.
9. Final Sealing
Apply a final bead of silicone sealant around the edge of the sink where it meets the vanity top. Smooth the sealant with a caulking tool or your finger to create a neat finish. This final sealing step ensures a watertight seal and adds to the overall appearance of the installation.
10. Clean Up
Remove any excess sealant or putty from around the sink and vanity unit. Clean the sink and vanity surface with a damp cloth to remove any fingerprints, smudges, or debris. Dispose of any packaging materials, tools, and waste appropriately.
Conclusion
Fixing a sink to a vanity unit is a manageable task that can significantly enhance your bathroom’s functionality and aesthetic. By carefully preparing the vanity, properly attaching the faucet and drain assembly, applying sealant, positioning and securing the sink, and ensuring all connections are leak-free, you can achieve a professional-looking installation. Following these steps will ensure a durable, watertight, and visually appealing result, adding value and enjoyment to your home.

