
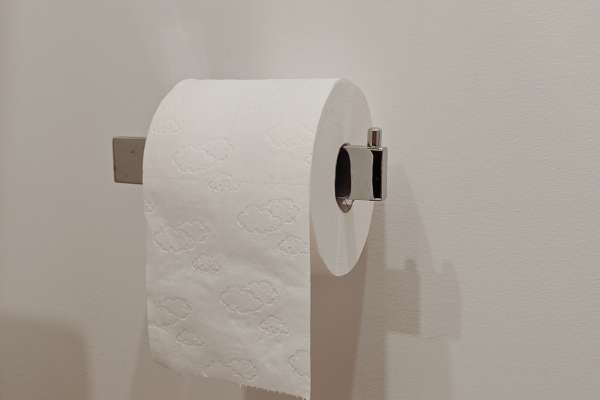
Installing a toilet paper holder is an essential task for ensuring comfort and convenience in any bathroom. This simple yet vital accessory not only adds to the functionality of the space but also contributes to its overall aesthetic. Whether you’re a seasoned DIY enthusiast or a first-time installer, learning how to install a tissue roll container can be a straightforward and satisfying project. In this guide, we will walk you through the steps of properly securing a toilet paper container to your bathroom wall, ensuring that it is both sturdy and well-placed for ease of use. With a focus on precision and attention to detail, you’ll soon have a perfectly installed bath tissue holder that blends seamlessly with your bathroom’s decor.
Can I Install a Toilet Paper Holders Without Drilling Holes?
Yes, installing a toilet paper container without drilling holes is indeed possible and can be a great option for renters or those who prefer not to make permanent changes to their walls. There are several types of no-drill bath tissue holders available in the market, such as those with strong adhesive backings or suction cups. These holders offer a damage-free installation, sticking securely to smooth surfaces like tile or glass. While they may not hold as much weight as drilled holders, they are typically sturdy enough for regular use and can be easily removed or repositioned as needed.
How High Should I Install the Toilet Paper Holders?

The height at which you install your toilet paper container plays a crucial role in its functionality and accessibility. A standard height for installing a bath tissue holder is about 26 inches from the floor. This height is generally comfortable for most users, allowing for easy reach whether seated or standing. However, it’s important to consider the specific needs of the users in your household. For instance, if the bathroom will be used by children or individuals with mobility issues, adjusting the height to accommodate them can make the bathroom more user-friendly.
Tools and Materials
Before starting the installation, it’s important to gather all necessary tools and materials to ensure a smooth process. For a standard installation, you will need a drill, a level, a pencil for marking, wall anchors, screws, and possibly a stud finder. If you are opting for a no-drill holder, ensure you have a clean cloth and possibly an alcohol solution to prepare the surface. Always check the manufacturer’s instructions for any specific tools or additional materials that might be required for your particular model of tissue roll holder.
Choosing the Right Location

Selecting the right location for your bath tissue container is as important as the installation itself. The ideal spot is usually within arm’s reach of the toilet, about 8 to 12 inches from the front of the toilet bowl. This positioning ensures convenience and ease of use. Also, consider the space around the toilet; the holder should not interfere with the bathroom door, vanity, or any other fixtures. If installing in a smaller bathroom, you might need to get creative with placement, while ensuring it remains functional for the users. Remember, the goal is to balance aesthetics with practicality for the best results.
Installing Process
Process 1: Installing Wall Anchors

The first step in installing your toilet paper holders is to securely install wall anchors. Begin by marking the desired position of the container on the wall with a pencil. Use a level to ensure these marks are straight and even. Next, drill holes at the marked spots, making sure they are the correct size for your wall anchors. Gently tap the anchors into these holes using a hammer. These anchors are essential as they provide the necessary support in drywall to hold the weight of the holder and the bath tissue.
Process 2: Attaching The Mounting Bracket
Once the wall anchors are in place, it’s time to attach the mounting bracket. Align the bracket with the installed anchors. Using a screwdriver, secure the bracket to the wall with screws. Ensure that the bracket is firmly attached and doesn’t wobble, as it will be the primary support for your holder. Some container come with a specific orientation for the bracket; make sure to follow any directional markings provided by the manufacturer.
Process 3: Securing The Holder

With the mounting bracket in place, you can now attach the bath tissue holder itself. This typically involves sliding the holder onto the bracket or securing it with a set screw. If your holder uses a set screw, you will likely need a small screwdriver or an Allen key. Tighten the screw until the holder is stable, but be careful not to over-tighten as this can strip the screw or damage the holder.
Process 4: Ensuring Proper Alignment

The final step is to ensure that your tissue roll container is perfectly aligned. Use a level to check that the holder is not tilted. If it is misaligned, slightly loosen the screws or the set screw, adjust the position, and then retighten. Proper alignment is not just about aesthetics; it ensures that the bath tissue rolls smoothly and the holder functions as intended. Once aligned, give the container a gentle tug to ensure it is securely attached and ready for use.
Process 5: Tightening the Screws

After ensuring proper alignment, the next step is to firmly tighten all screws. This is crucial for the stability and longevity of the tissue roll container. Use a screwdriver to tighten the screws on the mounting bracket and the holder itself. Be careful not to over-tighten, as this can strip the screws or damage the bracket or container. A snug fit is what you’re aiming for — secure enough to hold the holder in place, but not so tight that it causes damage.
Process 6: Final Adjustments

Once everything is secured, it’s time for final adjustments. Check the holder once more to ensure it’s level and firmly attached. Gently pull on it to simulate the action of pulling It. This test will help you confirm that the container won’t come loose with regular use. If you notice any movement, re-tighten the necessary screws. Finally, place a roll of bath tissue on the holder to ensure it dispenses smoothly.
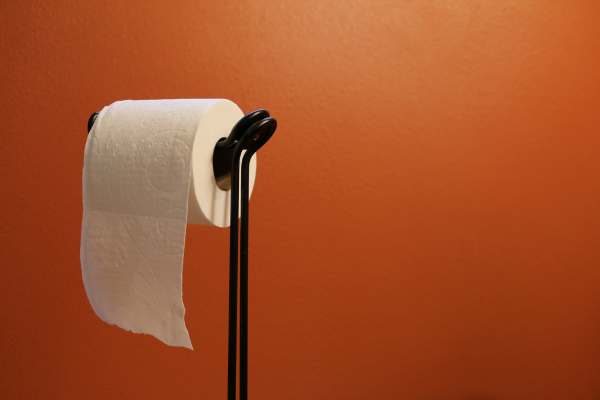
Alternative Mounting Options
For those unable to drill into their walls, consider alternative mounting options such as adhesive or suction-cup-based tissue roll holders. These are particularly useful for renters or for installation on tile surfaces where drilling isn’t ideal. Ensure the surface is clean and dry before installation for a strong, lasting grip. Keep in mind, however, that while convenient, these alternatives may not be as sturdy as traditional drilled installations.
Maintenance Tips
Regular maintenance is key to the longevity of your tissue roll holder. Periodically check and tighten any loose screws. Clean the container regularly with a damp cloth to prevent dust accumulation and to maintain its appearance. Avoid using harsh chemicals, especially on metal holders, as they can damage the finish. If your container is in a high-humidity area like a bathroom, watch for signs of rust or corrosion and address them promptly.
Final Thoughts
Installing a toilet paper holder is a straightforward DIY task that significantly enhances the functionality and aesthetics of any bathroom. By following these steps, you can ensure a secure and proper installation. Remember, the right tools, precise measurements, and regular maintenance will keep your bath tissue container in good shape for years to come. Whether you choose a traditional or an alternative mounting option, the key is to ensure stability and accessibility for a hassle-free bathroom experience. Read More: Toilet Paper Holder Ideas

