Creating slime with shampoo is a fun and easy craft project that anyone can enjoy. This innovative approach allows you to transform everyday household items into a playful and stretchy substance that provides hours of entertainment. With just a few simple ingredients and a straightforward process, you can make your own slime without the need for any specialized equipment. This guide will walk you through the steps to create your very own batch of slimes using shampoo, ensuring a unique and enjoyable crafting experience. Perfect for both kids and adults, this method is not only affordable but also customizable, allowing you to add colors and glitter for a personalized touch.
How Long Does This Slime Last?
Making slime with shampoo is not only a simple and enjoyable activity but also comes with its own set of benefits and considerations. One common question regarding this homemade slimes is about its longevity. Typically, slimes made with shampoos can last for several days to a week if stored properly in an airtight container. However, its consistency and texture might change over time, so it’s best to enjoy it while it’s fresh.
Is This Slime Safe To Eat?
When it comes to safety, it’s important to note that while this slimes is safe for handling and playing, it is not safe to eat. The ingredients used in making slime, including Make shampoo, are not meant for consumption and can be harmful if ingested. Therefore, it’s crucial to supervise young children during the slime-making process and while they play with it to ensure they don’t put it in their mouths.
Benefits Of Making Slime At Home
There are several benefits to making slime at home with shampoos. First, it’s a great way to encourage creativity and scientific curiosity in children, teaching them about the properties of different materials and how they can change when mixed together. Additionally, creating slimes provides a sensory play experience, which is beneficial for cognitive development and fine motor skills. Making slimes at home also allows for customization in terms of color, texture, and additives like glitter or beads, making it a personalized activity that can be tailored to individual preferences. Moreover, it’s a cost-effective and accessible project since shampoo and the other required ingredients are commonly found in households.
Step-By-Step Guide
1. Mixing Shampoo and Cornstarch

To start, you’ll need to combine shampoos with cornstarch in a bowl. The ideal ratio is typically 2 parts cornstarch to 1 part shampoos, but this can vary based on the shampoo’s thickness and desired slimes consistency. Begin by adding the shampoos to the bowl, followed by cornstarch. Mix them together thoroughly using a spoon or spatula until you achieve a smooth and even mixture. The mixture should be somewhat thick and malleable.
2. Adjusting the Texture
Once you have your basic mixture, it’s time to adjust the texture to your liking. If the slime is too wet and sticky, add more cornstarch in small increments, mixing well after each addition until you reach the desired consistency. If the slimes is too dry and crumbly, add more shampoos slowly, mixing thoroughly as you go. This step is crucial for achieving the perfect slime texture, so take your time to tweak it as needed.
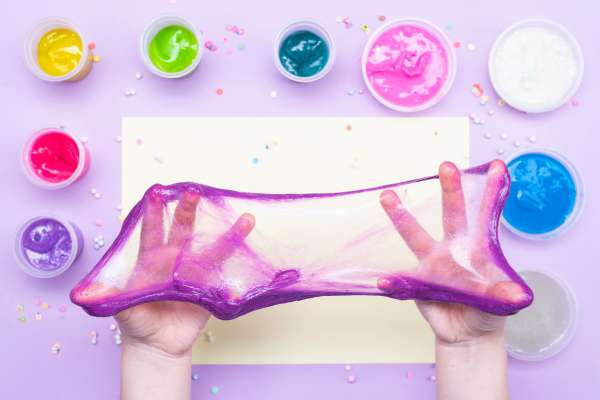
3. Adding Color and Sparkle
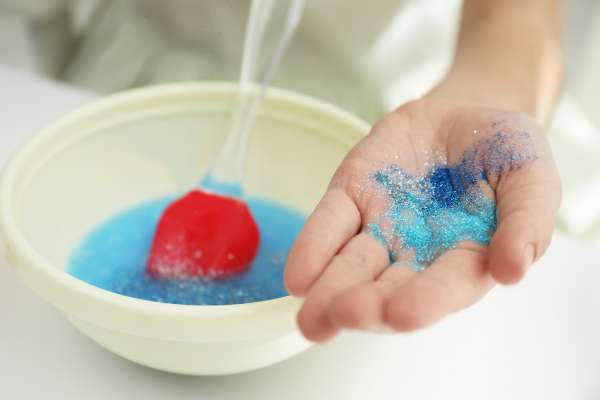
After achieving the ideal texture, you can personalise your Spelling by adding color and sparkle. Use food coloring for vibrant colors; just a few drops will do. Mix the color into your slime thoroughly to ensure an even tone throughout. If you want to add some sparkle, sprinkle in some glitter or sequins and fold them into the slimes until well distributed. This step is where you can get creative, experimenting with different colours and amounts of sparkle to create a truly unique Slimers.
Fun Variations Of Shampoo Slime
1. Glitter Slime
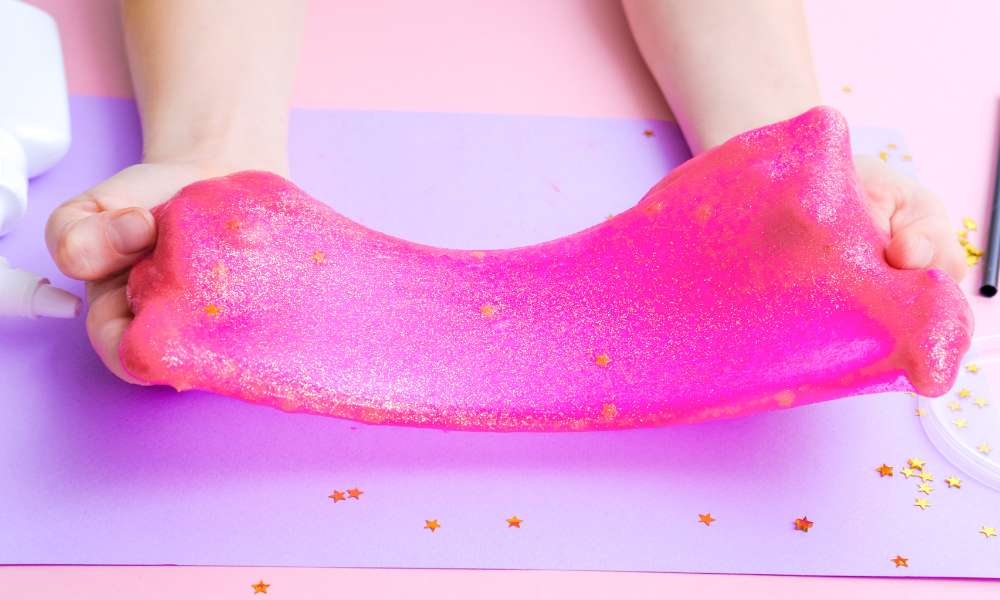
For those who love a bit of sparkle, creating glitter slimer adds a magical touch to your slimy creation. Start by following the basic shampoos and cornstarch slime recipe. Once you have your slimes base ready and at the desired consistency, sprinkle in your choice of glitter. You can use fine glitter for a subtle shimmer or chunky glitter for more visual impact. Mix the glitter thoroughly into the slimes until evenly distributed. The result is a mesmerizing, sparkly slimes that catches the light beautifully.
2. Glow-In-The-Dark Slime
Turn off the lights and watch your slimes glow! Making glow-in-the-dark slime involves adding a glow-in-the-dark paint or powder to your shampoos slimes mixture. After combining the shampoo and cornstarch, blend in the glow-in-the-dark element until it’s fully integrated. For best results, charge your slimes under a light source for a few minutes before heading into the dark. This variation is perfect for night-time play and adds an exciting, eerie effect that’s especially popular around Halloween or for evening outdoor activities.
3. Scented Slime
Enhance your sensory play experience with scented slimes. This variation involves incorporating a few drops of essential oil or a scented shampoo into your slimes recipe. Choose a fragrance that you enjoy, such as lavender for a calming effect, citrus for a refreshing scent, or peppermint for an invigorating aroma. Add the scent during the initial mixing process of shampoo and cornstarch to ensure the fragrance is well-absorbed. Scented slimes not only look and feel great but also smell wonderful, adding an extra dimension to your slimes-making adventure.
Tips for the Perfect Slime
- Choose the Right Shampoo: The type of shampoos you use can significantly affect your slime’s texture. Opt for a thicker shampoo for a denser slimes. Clear shampoos are great for adding color or glitter, as they won’t affect the hue you’re aiming for.
- Gradual Mixing: When combining shampoos with cornstarch, add the cornstarch gradually and mix thoroughly to avoid lumps. This method ensures a smoother, more consistent slimes texture.
- Texture Adjustment: If your slime is too sticky, add a bit more cornstarch. If it’s too brittle, add a little more shampoo. Small adjustments can make a big difference in achieving the perfect slimes consistency.
- Incorporate Colors and Additives Slowly: When adding color, glitter, or glow-in-the-dark powder, start with a small amount and gradually increase until you reach the desired effect. This approach allows for more precise control over the final appearance.
- Knead Your Slime: After mixing all your ingredients, knead the slimes with your hands. This process helps improve its elasticity and overall texture.
- Storage: To keep your slimes fresh for longer, store it in an airtight container. This prevents it from drying out and maintains its stretchy quality.
Conclusion
Making slime with shampoo is a fantastic way to engage in creative play and explore the fascinating world of DIY crafts. By following these tips, you can enhance your slime-making skills and create a variety of textures and effects, from glittery and glow-in-the-dark slimes to beautifully scented creations. Remember, the key to perfect Spelling lies in experimentation and fine-tuning the balance of ingredients to suit your preferences. So, don’t be afraid to try different variations and add your personal touch to each batch. Happy Spelling making!

