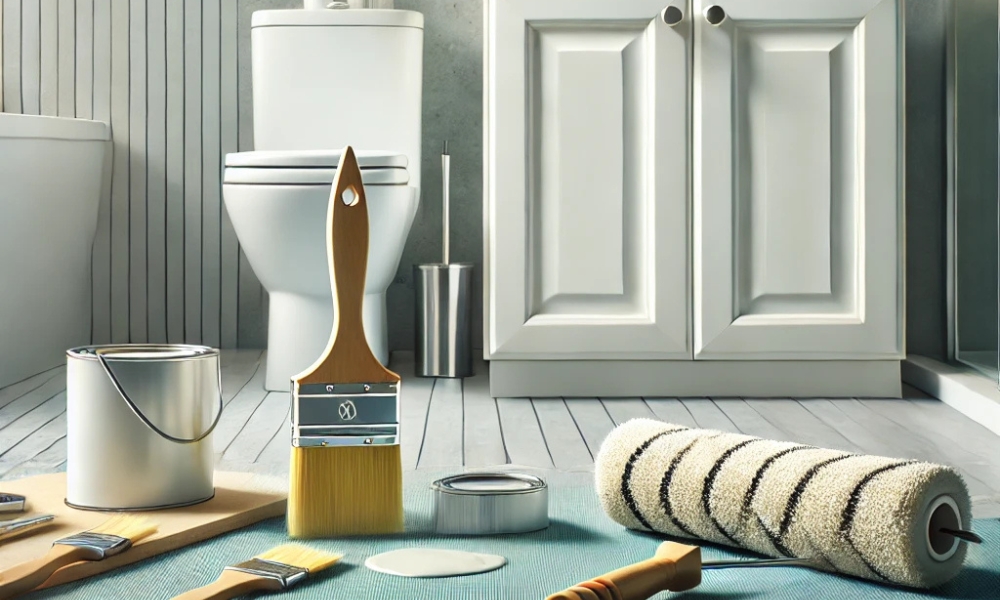
Bathroom cabinets are more than just storage units; they’re a focal point in one of the most-used spaces in your home. Over time, these fixtures can lose their luster due to moisture, wear, and age. Updating your bathroom cabinets Like A Pro with a fresh coat of paint is an excellent way to breathe new life into the room without spending a fortune on replacements. Not only does this approach save money, but it also allows you to customize the finish and color to suit your personal style.
A well-executed paint job offers a professional appearance that rivals brand-new cabinetry. The transformation is undeniable, with glossy finishes, even coverage, and vibrant hues giving the space a polished aesthetic. Let’s delve into how to achieve this transformation step by step, ensuring your cabinets look professionally done.
Materials And Tools You’ll Need
Paint Types
Choosing between latex and oil-based paints depends on your priorities. Latex paint dries quickly, is easy to clean, and emits fewer odors, making it ideal for DIYers. Conversely, oil-based paint provides a smoother, more durable finish, perfect for cabinets that endure frequent handling.
Brushes And Rollers
For an immaculate finish, select high-quality brushes and rollers. A 2- to 3-inch angled brush is excellent for precision work around edges and corners, while a foam roller ensures smooth application on larger, flat surfaces.
Sandpaper And Primer
Sandpaper is indispensable for removing old finishes and creating a smooth base for the paint. Medium-grit (120-grit) works well for the initial sanding, while fine-grit (220-grit) is ideal for finishing touches. Primer ensures that the paint adheres properly and resists moisture damage, which is vital in bathrooms.
Drop Cloths And Painter’s Tape
Protecting your work area is essential. Drop cloths safeguard floors and counters, while painter’s tape helps achieve clean lines by masking edges, hardware, and adjacent walls.
Step-By-Step Guide To Painting Bathroom Cabinets
Step 1 – Preparation Is Key
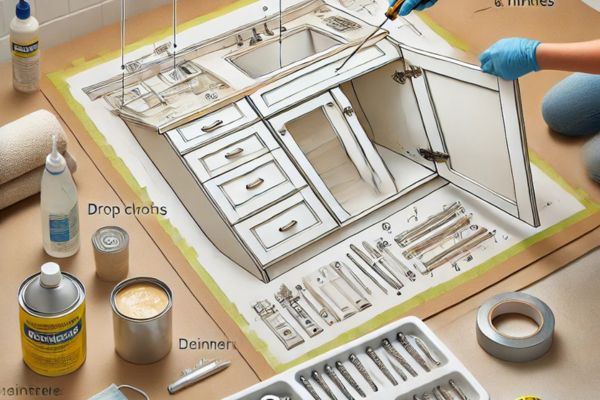
Preparation lays the foundation for a flawless finish. Begin by removing cabinet doors, drawers, and hardware such as hinges, knobs, and pulls. This not only simplifies painting but also prevents accidental paint splatters on hardware.
Thoroughly clean all surfaces with a degreaser to remove dirt, oils, and soap residue. Bathrooms are high-moisture environments, so neglecting this step could compromise the paint’s adhesion. Once clean, allow everything to dry completely.
Cover the surrounding areas with drop cloths, and apply painter’s tape to edges where cabinets meet walls or other surfaces. This step ensures a tidy workspace and professional-looking results.
Step 2 – Sand The Cabinets
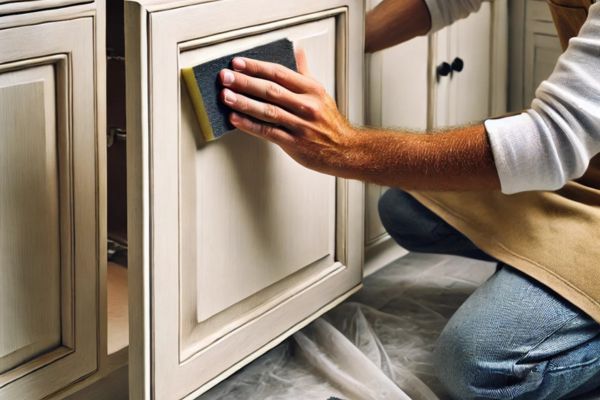
Sanding may feel tedious, but it’s essential for ensuring that the paint adheres properly. Use medium-grit sandpaper to remove any gloss from the existing finish and roughen the surface slightly. For stubborn areas or intricate details, a sanding block or power sander can make the job faster and more efficient.
After sanding, wipe away dust with a damp cloth or tack cloth. This step prevents debris from mixing into your primer or paint, which could lead to an uneven finish.
Step 3 – Prime The Cabinets
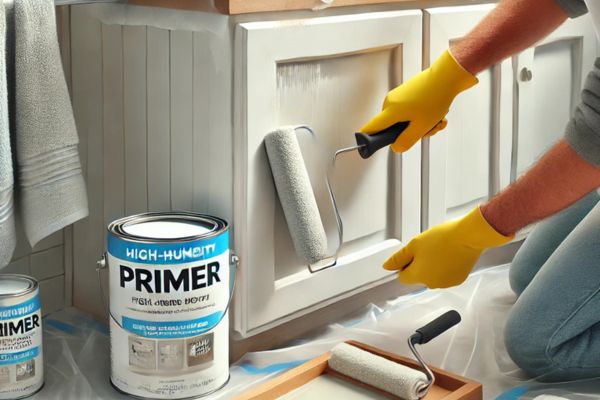
Priming creates a smooth, adhesive surface for the paint while sealing porous areas. Choose a primer designed for high-humidity areas to ensure durability. Apply the primer evenly with a brush or roller, taking care to avoid streaks or drips.
Let the primer dry fully before moving on. Depending on the product, this could take several hours. If the surface feels rough after drying, lightly sand it with fine-grit sandpaper, and then clean off any remaining dust.
Step 4 – Choose The Right Paint
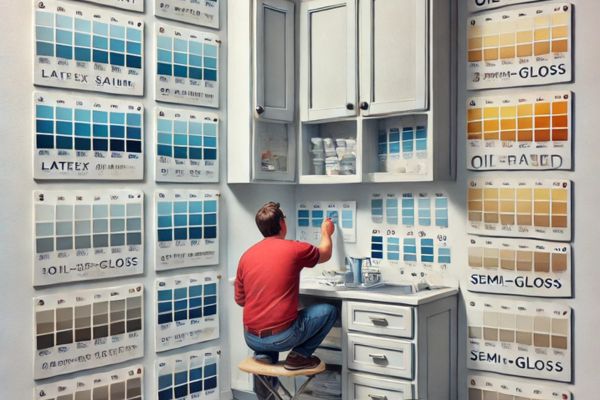
The paint you select greatly influences the final outcome. Latex paints are easy to work with and fast-drying, while oil-based paints are more resistant to wear and moisture. Additionally, consider the finish: satin and semi-gloss are popular choices for bathroom cabinets due to their moisture resistance and easy maintenance.
Before committing, test your chosen paint on a small, inconspicuous area to ensure it meets your expectations for color and finish.
Step 5 – Apply The First Coat Of Paint
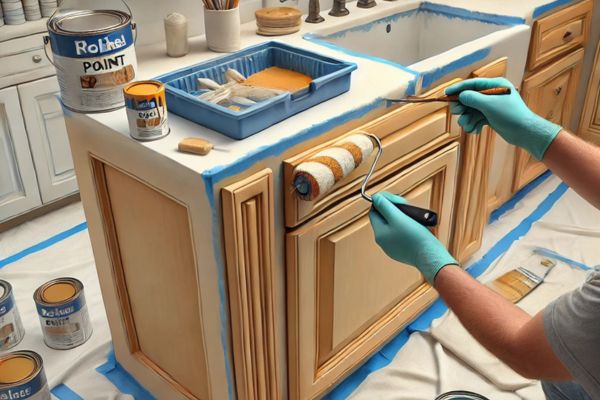
Using your brush and roller, apply the first coat of paint evenly. Work methodically, starting from the top and moving downward to avoid drips. Use the brush for corners and detailed areas, and switch to the roller for larger, flat sections.
Allow this coat to dry completely before proceeding. Rushing this step can lead to smudges, uneven coverage, and prolonged drying times for subsequent layers.
Step 6 – Sand Between Coats
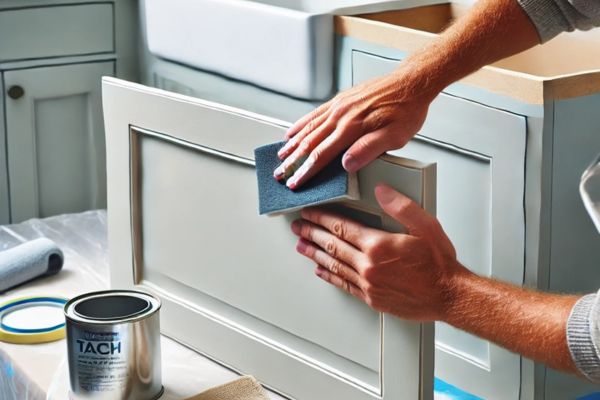
For a smooth, professional-grade finish, lightly sand the surface between coats of paint. This step removes any imperfections or bubbles and helps the next coat adhere better. Use fine-grit sandpaper and a gentle touch to avoid removing too much paint.
After sanding, clean the surface with a tack cloth to remove all dust before applying the next coat.
Step 7 – Apply The Final Coat
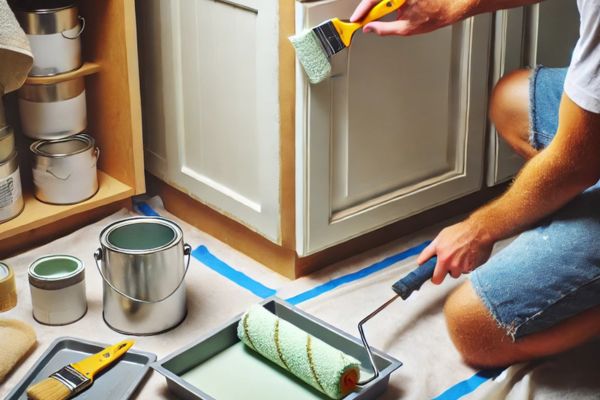
Apply the final coat with precision, ensuring an even and flawless finish. Pay attention to details like corners and edges, as they often reveal inconsistencies in coverage. Avoid overloading your brush or roller with paint to prevent drips and streaks.
Once the final coat is applied, let it dry thoroughly. For best results, give it at least 24-48 hours before reassembling the cabinets or exposing them to heavy use.
How To Paint Bathroom Cabinets Without Removing Them
While removing cabinet doors and drawers is ideal, it’s not always practical. If you choose to paint your cabinets without disassembly, meticulous preparation is even more critical. Protect the surrounding areas with drop cloths, and use painter’s tape to cover hinges, hardware, and adjacent surfaces.
Invest in high-quality tools to achieve smooth coverage and avoid drips. Work carefully to ensure a professional finish, even in tight spaces.
Tips For A Professional Finish
- Use long, even strokes when painting.
- Maintain consistent pressure on the brush or roller.
- Avoid overloading tools with paint to prevent streaks or drips.
- Always allow sufficient drying time between coats.
How To Maintain Painted Bathroom Cabinets?
To keep your painted cabinets looking pristine, clean them regularly with a soft cloth and mild soap. Avoid harsh cleaners or abrasive pads that could damage the finish. Touch up any chips or scratches promptly to prevent moisture from seeping underneath the paint.
Common Mistakes To Avoid
One of the biggest mistakes when painting bathroom cabinets is skipping essential preparation steps like sanding or priming, which can result in poor paint adhesion and peeling over time. Choosing the wrong type of paint—such as a matte finish or non-moisture-resistant variety—can also lead to durability issues in a high-humidity environment. Additionally, rushing the process by not allowing adequate drying time between coats often causes smudging or uneven finishes. Overloading brushes or rollers with paint can create unsightly drips and streaks, while neglecting to clean surfaces properly before starting can trap dirt or grease beneath the paint, compromising the final look.
Faqs
How Tall Are Bathroom Cabinets?
How Tall Are Bathroom cabinets, often referred to as vanities, typically range in height from 30 to 36 inches. This measurement includes the cabinet base and, if present, the countertop. Standard bathroom cabinets are designed at 30 inches for ease of access, particularly in family or children-friendly settings. However, the trend for “comfort height” cabinets has become popular, aligning with the standard kitchen counter height of 36 inches to accommodate adults more ergonomically. The height choice depends on factors like user preference, bathroom design, and the primary users of the space. Custom-built cabinets offer even more flexibility, allowing adjustments to suit specific needs.
How Long Should I Wait Before Reinstalling Cabinet Doors?
After applying the final coat of paint, it’s essential to allow the paint to cure properly before reattaching the cabinet doors. For optimal results, wait at least 24-48 hours to ensure the paint is completely dry and hardened. If possible, wait longer to prevent smudging or damaging the freshly painted surfaces. Additionally, be cautious during the reinstallation process to avoid scratching or disturbing the finish.
Can I Paint Over Laminate Bathroom Cabinets?
Yes, you can paint over laminate bathroom cabinets, but there are specific steps to ensure a lasting finish. Laminate surfaces are slick and non-porous, so it’s important to thoroughly clean and lightly sand the cabinets before priming. Use a bonding primer designed for laminate or glossy surfaces to ensure the paint adheres well. Once primed, follow the standard painting process, and you’ll achieve a smooth, durable finish.
How Can I Avoid Brush Marks When Painting Cabinets?
To avoid brush marks, use a high-quality, angled brush designed for cabinetry. Apply the paint in thin, even layers, and always follow the wood grain or surface lines. Work in small sections and maintain consistent pressure to prevent excess paint buildup. After the first coat, lightly sand between coats to create a smooth, flawless surface. Additionally, consider using a foam roller for flat surfaces, as it provides a smoother finish with fewer brush strokes.
Should I Use A Brush Or Roller For Painting Cabinets?
A combination of both a brush and roller is ideal for painting bathroom cabinets. Use an angled brush to handle detailed areas such as edges, corners, and around hardware, and a foam roller for large, flat surfaces like the faces of the doors and drawers. This approach ensures precision while achieving a smooth and even finish on broader areas. A roller typically provides a more uniform coat and reduces the likelihood of brush marks.
How Do I Know If My Bathroom Cabinets Are Ready For A New Coat Of Paint?
Your bathroom cabinets are ready for a new coat of paint if the existing finish is dull, chipped, or peeling, or if the cabinets have become stained or discolored due to moisture exposure. To check, clean the surface thoroughly and inspect for any imperfections or damage. If the surface feels rough or uneven, sanding will help create a smooth foundation for the new paint. Additionally, make sure to prime the cabinets before painting to promote proper adhesion, especially in a high-moisture environment like a bathroom.
Conclusion
Painting bathroom cabinets is a cost-effective way to refresh your space with a personalized touch. By following these detailed steps, you can achieve a professional-quality finish that enhances both aesthetics and functionality. With patience, attention to detail, and the right tools, you’ll transform your bathroom into a space you can truly admire.
