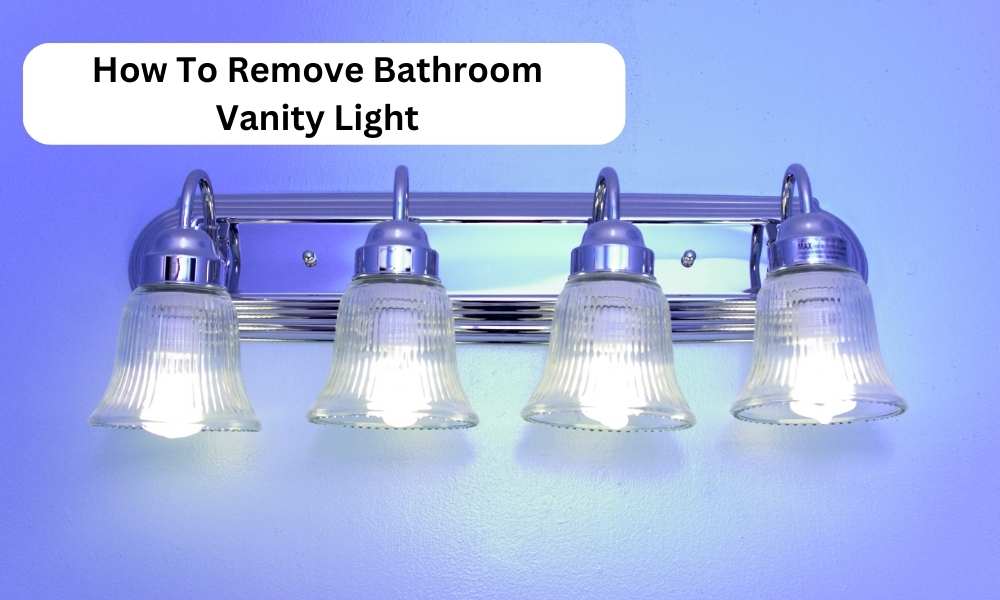
When It comes to renovating or updating A bathroom, One of the easiest And most impactful changes you can make is to replace the vanity light. Whether you’re looking for A more modern fixture or simply want to switch up the style, removing the existing bathroom vanity light is A necessary first step. In this article, We will guide you through the process of safely and efficiently removing your bathroom vanity lamp, Ensuring that you have all the information and tools needed for A successful project. From understanding electrical safety precautions to step-by-step instructions on disconnecting And removing the old fixture, We’ve got you covered. So let’s dive in And learn how to remove that old bathroom vanity light!
Step-by-Step Guide to Safely Removing a Bathroom Vanity Light:
Turn Off The Power

Before you dive into any project involving electricity, Safety is paramount. Initiating the process of remove your bathroom vanity light requires turning off the power to avoid electric shock. Locate your home’s circuit breaker box And find the switch that controls power to your bathroom. Turn it off. Double-check that the power is indeed off by flicking the light switch on And off. If there’s no light, You’ve successfully cut off the power. A helpful tip is to let other occupants know you’re working on the lights, So they don’t mistakenly switch the power back on.
Remove the Lightbulbs

With the power safely off, you’re ready to remove the lightbulbs from your vanity lamp. It’s essential to ensure your hands are dry to avoid slipping. Gently but firmly hold the bulb and twist it in a counterclockwise direction to unscrew it from the socket. If you’re dealing with a stubborn bulb, using a rubber glove can give you the additional grip needed. Repeat the process for each bulb, And make sure to place them in A secure location to avoid accidental breakage.
Unscrew Or Unclip The Light Fixture From The Wall

Now, we move on to the vanity lamp fixture. The fixture is often held to the wall by screws or clips that are either on the sides of the fixture or the base plate. Identify these And using the appropriate tool, Such as a screwdriver or pliers, begin to unscrew or unclip the fixture. Apply constant, measured pressure to prevent any damage to the wall or the fixture. Once you’ve removed all the screws or clips, carefully pull the fixture away from the wall. Be mindful not to tug too hard as you risk damaging the attached electrical wires.
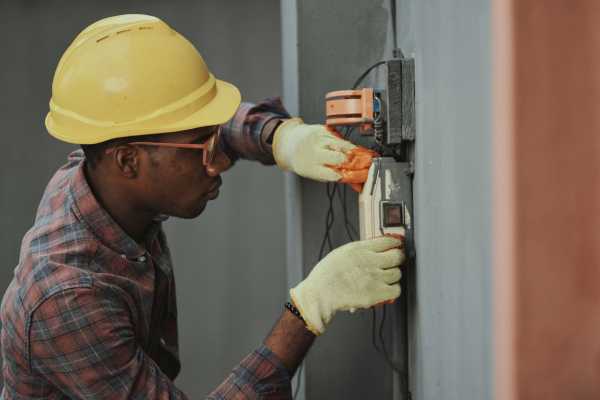
Disconnect The Electrical Wiring

As we dive further into the process of changing your bathroom vanity light, the next step focuses on the electrical wiring. Behind the removed fixture, you’ll typically find a set of wires held together by wire connectors or wire nuts. To disconnect these, carefully twist each wire nut in a counterclockwise direction. Usually, You’ll encounter A black (hot) wire, A white (neutral) wire, and a green or bare (ground) wire. After each wire is separated, for your safety, cap each of them with a wire nut or secure the end with electrical tape. This will prevent accidental shocks or potential short circuits.
Inspect The Electrical Box And Make Necessary Adjustments
Once you’ve safely disconnected the electrical wiring, It’s crucial to pay attention to the electrical box behind your vanity lamp. This box houses all the wiring connections, and Its condition is essential for safely installing a new light fixture. Check for any signs of damage, Corrosion, or loose attachment points. If the box seems unstable, It might be necessary to replace It.
In case your new light fixture needs A different kind of electrical box or additional wiring, consider hiring A professional electrician. Dealing with electricity can be complex and potentially dangerous without proper training. This step assures you of A safe and effective transition to your new vanity lamp.
Remove Any Additional Mounting Hardware

After ensuring the electrical box’s integrity, The next step is to remove any remaining mounting hardware from the wall. This hardware may include brackets, screws, Or clips. Use Your screwdriver or pliers to carefully remove these, ensuring you don’t cause any damage to the wall. Retain all hardware And screws in case they’re needed for the new fixture installation. A clean And clear area makes for A smoother installation process of the new vanity light fixture.
The Final Thought
Remove a bathroom vanity light might seem like a daunting task at first glance. However, with careful planning and following the correct steps, it becomes a manageable and satisfying DIY project. From ensuring safety by turning off the power to the final steps of inspecting the electrical box and removing additional hardware, each stage is crucial to the task’s successful completion. The newfound skills will not only save you time And money in this instance but will also come in handy for future home improvement projects. While the process can be slightly technical, the joy of achieving A well-done task and the transformation It brings to your space is definitely worth it. Don’t forget to always prioritize safety and call in A professional when needed.

