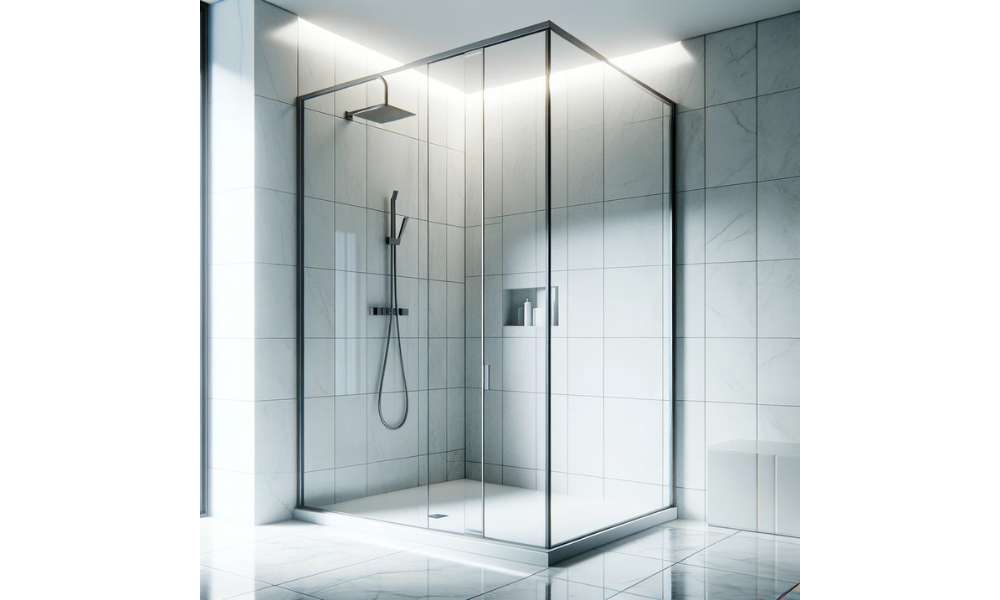
Removing glass shower doors Can be a daunting task, but with the right approach, It’s entirely manageable. This guide Is designed To help you safely And efficiently dismantle And remove your masking shower doors, ensuring A smooth process from start To finish. Whether You’re remodeling your bathroom or simply looking To refresh Its look, understanding how To remove glass shower doors Is essential. With clear, easy-To-follow steps, You’ll find that this task Can be accomplished with confidence, paving the way For your next bathroom project.
What Should I Do With The Old Glass Doors?
When undertaking The Task of removing glass shower doors, It’s important To consider what To do with The old doors. Firstly, assess their condition. If they are still In good shape, consider donating them To local building material reuse centers, Selling them online, or even repurposing them within your home. If the doors are damaged, proper disposal Is crucial. Contact local waste management services To inquire about safe disposal methods For glass, ensuring environmental responsibility And safety.
Do I Need Any Special Tools For This Task?
As for The tools required For this task, you’ll be relieved To know that no special equipment Is typically needed. Basic tools such as a screwdriver, A drill (if the doors are anchored with screws), an Allen wrench, And a utility knife are generally sufficient. Protective gear Is also essential; make sure To Wear heavy-duty gloves To protect your hands from sharp edges And safety glasses To shield your eyes from any masking fragments. A level and A measuring tape might also be helpful To ensure everything Is Aligned correctly during The reinstallation of new doors or For other renovation projects following The removal.
Gather Necessary Tools
Before you start, make sure you have the following tools handy:
- Screwdriver
- Utility knife
- Safety goggles
- Gloves
- Plastic sheeting
- Trash bags
Having the right tools is crucial for a smooth removal process.
Step-By-Step Guide
Step 1: Safety First

Before starting The process of removing masking shower doors, prioritize your safety. Glass, being fragile And potentially sharp, demands caution. Begin by wearing protective gear: sturdy gloves To safeguard your hands from cuts And safety glasses To prevent any masking particles from getting into your eyes. Ensure the area Is clear of any obstacles that could cause tripping or hinder movement. If the doors are large or particularly heavy, consider having A helper To assist with the removal process To avoid accidents or injury.
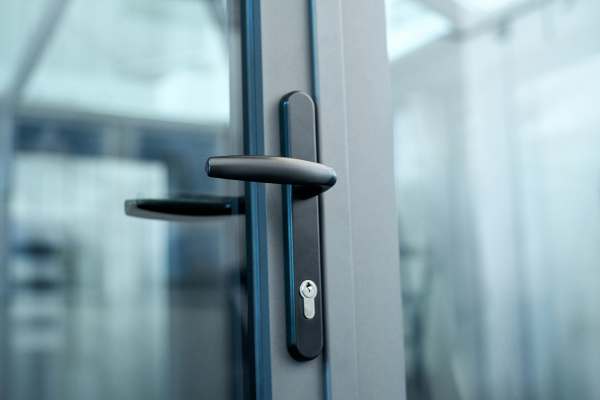
Step 2: Remove The Door Handles and Hardware

Once you’re geared up for safety, The next step is To remove the door handles And any other hardware. This usually involves unscrewing the handles, which Can be done with A standard screwdriver. Some handles might be fixed with Allen screws, In which case An Allen wrench will be needed. Keep A container or bag nearby To place the screws And small hardware components In, so they don’t get lost. If your shower doors have Any additional hardware, such as towel bars attached To them, these will need To be removed In the same manner. Remember to work gently To avoid damaging The glass.
Step 3: Score the Caulk

After removing the handles And hardware, the next step is to address The caulking that seals the edges of The glass doors. Caulk is typically used to waterproof The edges and must be carefully removed to free The doors. Use A Utility knife To gently score along The caulk lines. Be careful not to apply too much pressure, As this could damage the glass or The surrounding surfaces. This scoring process breaks The seal of The caulk, making it easier To remove The doors without causing damage. Work your way along all the edges where The caulk Is Present, ensuring A thorough cut.
Step 4: Apply Masking Tape

Once the caulk has been scored, The next step is To apply masking tape across the glass. This is a precautionary measure To prevent the glass from shattering or causing injury In case It breaks during The removal process. Apply strips of masking tape In a crisscross pattern across the entire surface of The masking. This taping doesn’t just add a layer of safety; It also helps In holding The glass pieces together In case of any accidental breakage. Ensure that the tape adheres well but remember that It should be easy To remove once The door Is Safely detached.
Step 5: Enlist a Helper

The removal of glass shower doors Is Not just A meticulous task but also one That can benefit from An Extra pair of hands. At this stage, It’s advisable to enlist the help of A friend or family member. A helper can provide The necessary support To safely handle The masking, especially If The doors are large or heavy. They can assist in holding The door steady while you unscrew The hinges or lift the door off its track, Minimizing the risk of The glass slipping or falling. Additionally, having A helper can speed up the process And provide immediate assistance In case of any unexpected issues.
Step 6: Carefully Remove the Glass
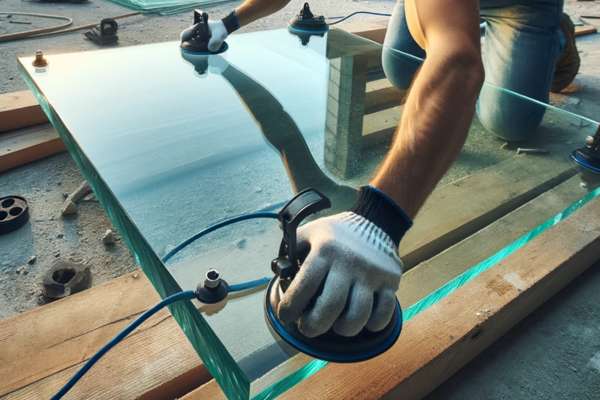
With The help of your assistant, You can now proceed To carefully remove The masking shower doors. Start by gently lifting the door from Its track or unscrewing It from its hinges, depending on your shower door’s design. It’s important To maintain A firm grip And lift evenly to avoid tilting or twisting The glass, which could cause It To break. If the door is hinged, remove The screws from The top hinge first, then The middle (if present), and finally The bottom hinge, steadily supporting the door’s weight As you go. Once the screws are out, carefully angle The door away from the frame and lift It out. If your shower door is sliding, carefully lift it off its track, ensuring both you And your helper have a good grip. Remember To move slowly and deliberately To maintain control And prevent accidents.
Step 7: Dispose of the Glass

After successfully removing The glass shower doors, The next step is their safe disposal. If the masking Is intact and In good condition, consider recycling or repurposing it. You can donate it To a local reuse center, sell It, or even use it For a DIY project. However, If the glass is cracked or broken, It must be disposed of carefully. Wrap the masking in heavy-duty plastic or An old blanket To prevent injury from sharp edges. Then, consult with your local waste management facility For guidance on disposing of glass properly. Some areas have specific regulations For glass disposal to ensure safety And environmental compliance.
Step 8: Clean and Prepare for Reinstallation

With the glass doors removed, It’s Time to clean and prepare. The area For either reinstallation of new doors or For leaving The space open. Remove any remaining caulk residue from The shower enclosure using A putty knife or A caulk remover tool. Clean the area thoroughly To remove any grime, soap scum, or residue that might have accumulated over time. If you’re planning To install new doors, ensure that The surface Is completely clean and dry for the best adherence of new sealants or hardware. This step not only provides A clean slate for new installations but also enhances The overall appearance And Hygiene of your bathroom space.
Conclusion
Removing glass shower doors Is A task that can be efficiently completed with careful planning And execution. By following the step-by-step guide, You can ensure A safe and effective removal process. It’s important to prioritize safety at every step, from wearing protective gear To enlisting the help of An Assistant. Proper disposal or repurposing of The old glass doors Is not only environmentally responsible but can also be rewarding. Lastly, cleaning And preparing the area For new installations or For an open shower space Is crucial for maintaining. The cleanliness and aesthetics of your bathroom. Whether you’re renovating, repairing, or simply making a change. The knowledge of how To properly remove masking shower doors Is An Invaluable skill For any homeowner.

