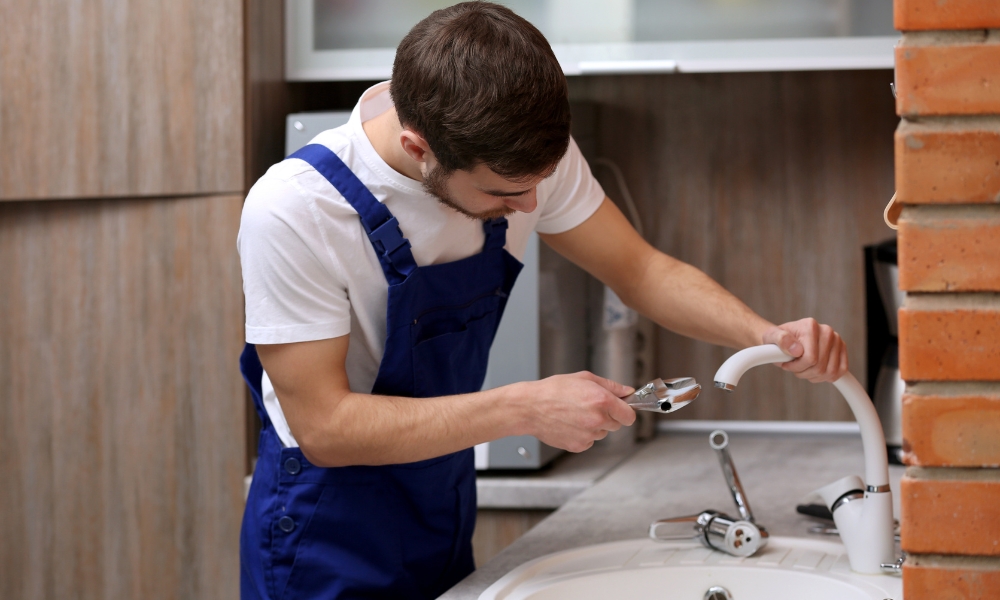
Replace a Roman tub faucet can seem like a daunting task, especially when you don’t have an access panel to work with. However, with the right tools and a step-by-step approach, you can successfully complete this project on your own. This guide will walk you through the process, ensuring you can upgrade your tub faucets without the need for professional help.
How do I install the new faucet valves and trim?
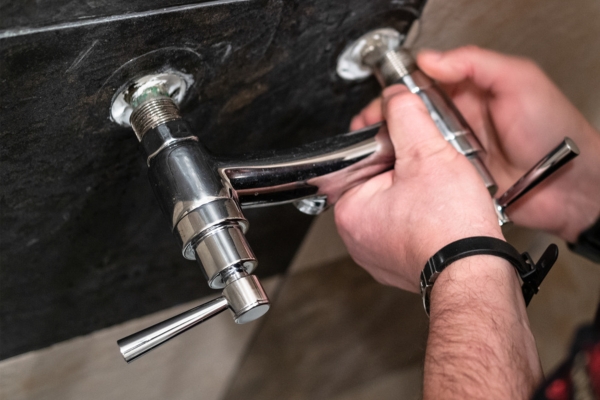
Position the new faucet valves in place of the old ones and secure them with the mounting nuts. Attach the new water supply lines to the valves using an adjustable wrench. Install the new trim pieces and spout, securing them with the provided nuts and set screws.
Tools and Materials Needed
Before you begin, gather the following tools and materials:
- Adjustable wrench
- Basin wrench
- Screwdriver (flathead and Phillips)
- Plumber’s putty or silicone caulk
- Teflon tape
- New Roman tub faucet set
- Bucket
- Towels
Step-by-Step Guide
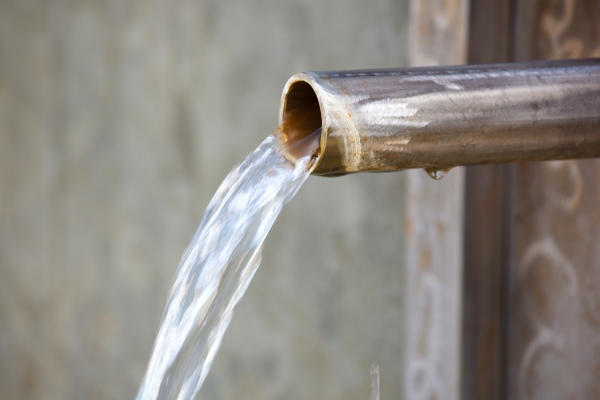
1. Turn Off the Water Supply

Before starting any plumbing project, it’s crucial to turn off the water supply to avoid any accidental flooding. Locate the main water valve for your bathroom and shut it off. Open the faucets to drain any remaining water in the lines.
2. Remove the Old Faucet Handles
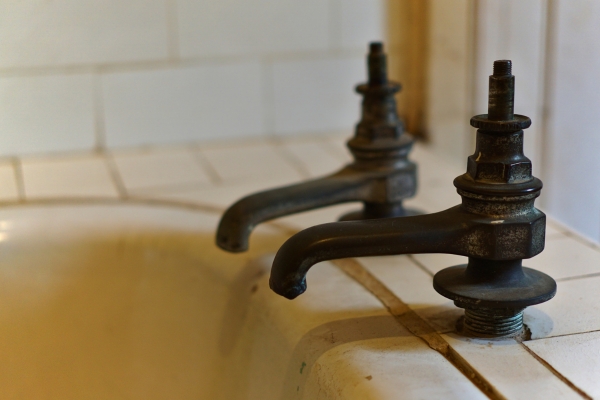
Using a flathead screwdriver, carefully pry off the decorative caps from the faucet handles. This will expose the screws securing the handles. Use a Phillips screwdriver to remove the screws and gently pull off the handles. Set the handles and screws aside for reuse or disposal.
3. Detach the Spout
Next, remove the spout. Some spouts are secured with a set screw located underneath. Use an Allen wrench or screwdriver to remove this screw. Once the screw is removed, gently twist and pull the spout to detach it from the base.
4. Remove the Faucet Trim
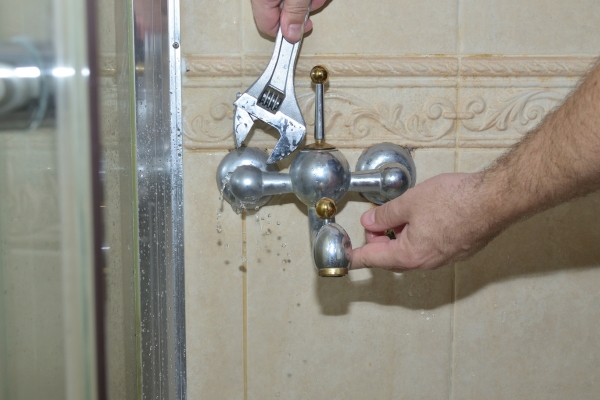
With the handles and spout removed, you can now access the trim pieces. Use an adjustable wrench to unscrew the trim nuts holding the faucet in place. Carefully lift off the trim pieces and set them aside. You may need to use a basin wrench for hard-to-reach nuts.
5. Disconnect the Water Lines
Underneath the tub, locate the water supply lines connected to the faucet valves. Use an adjustable wrench to disconnect these lines. Be prepared with a bucket to catch any residual water. Once disconnected, remove the mounting nuts securing the faucets valves to the tub.
6. Install the New Faucet Valves
Position the new faucet valves in place of the old ones. Secure them with the mounting nuts from underneath the tub. Ensure the valves are tightly fastened to prevent any leaks. Wrap the threaded ends of the valves with Teflon tape for an extra seal.
7. Connect the New Water Lines
Attach the new water supply lines to the faucet valves. Tighten the connections with an adjustable wrench, ensuring they are secure but not overtightened. Use Teflon tape on the threads to create a watertight seal.
8. Install the New Trim and Spout
Place the new trim pieces over the faucet valves and secure them with the trim nuts. Attach the new spout by sliding it over the base and securing it with the set screw. Apply plumber’s putty or silicone caulk around the base of the spout to prevent water from seeping underneath.
9. Attach the New Handles
Install the new faucet handles by aligning them with the valve stems and securing them with the screws provided. Press the decorative caps onto the handles to complete the installation.
10. Turn On the Water Supply

Once everything is securely in place, turn the main water supply back on. Open the faucets to check for any leaks. If you notice any dripping or leaking, tighten the connections as needed.
11. Clean Up
After ensuring there are no leaks, clean up the work area. Dispose of the old faucet Fix A components responsibly and store your tools for future use. Wipe down the new faucets to remove any fingerprints or residue.
Tips for a Successful Installation
- Read the Manufacturer’s Instructions: Every faucet model is slightly different, so be sure to read and follow the specific instructions provided by the manufacturer.
- Use Quality Materials: Investing in high-quality faucets and plumbing components can prevent future issues and ensure a longer lifespan for your new faucets.
- Seek Help if Needed: If you encounter any difficulties or feel unsure about any step, don’t hesitate to consult a professional plumber.
Conclusion
Replacing a Roman tub faucet without an access panel can be challenging, but with patience and the right tools, it’s entirely doable. By following this step-by-step guide, you can achieve a professional-looking installation and enjoy a refreshed look for your tub. Remember to take your time, double-check your connections, and enjoy the satisfaction of completing this home improvement project on your own.

