
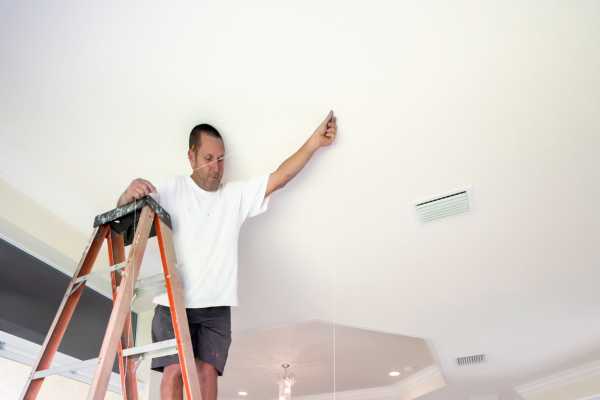
Replacing your bathroom light fixture can instantly update the look and feel of your space. Whether you want to upgrade to a more modern fixtures or simply replace an old, worn-out one, this is a relatively simple DIY project that can be completed in just a few hours. By following a few steps and taking necessary precautions, you can easily replace your bathroom light fixture and enjoy a fresh, new lighting experience. In this article, we will guide you through the step-by-step how to replace your bathroom light fixture, ensuring that you can successfully transform your bathroom’s lighting to suit your style and needs.
DIY Tutorial: Replacing Your Bathroom Light Fixture with Ease
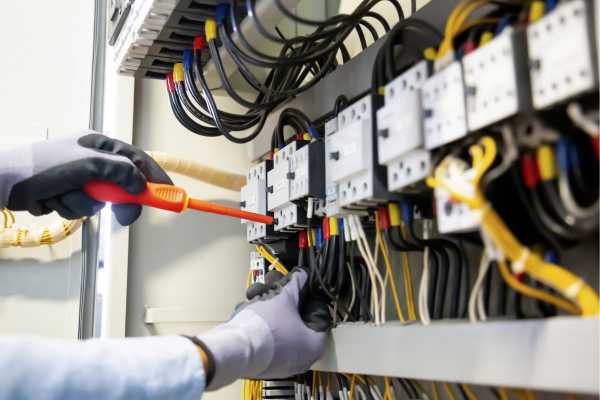
Turn Off The Power To The Fixture

Safety should always be the first priority When dealing with electrical work. Before You Start, Turn off the power to the toilet light fixture by switching off the circuit breaker Or removing the fuse at the electrical panel. Once the power is off, Test the fixtures to ensure it is no longer functional. Use A non-contact voltage tester to verify that there is no electrical current running to the Wires.
Select A New Fixture

With various styles And designs available, Choosing the right toilet light fixture can greatly enhance the overall ambiance And functionality of the space. Consider the size, shape, And type of lighting (e.g., wall sconces, vanity lights, Or ceiling fixtures) that best complements your bathroom’s layout And Decor.
Disconnect Electrical Connections

With the power off And the new fixture ready, Carefully remove the old fixture’s cover Or shade, exposing the electrical connections. Usually, Bathroom light fixtures are attached to the wall Or ceiling with screws Or mounting brackets. Depending on the type of component, You may need to remove screws, nuts, Or decorative caps to access the electrical connections. Loosen the wire nuts Or connectors that hold the wires together, Separating the fixture’s wiring from the electrical wires in the junction box.
Detach The Fixture From The Wall Or Ceiling

With the electrical connections disconnected, gently detach the old fixtures from the wall or ceiling. If the fixture is screwed in place, carefully remove the screws and mounting brackets. In some cases, you might need to apply slight pressure or use a putty knife to release the fixtures from any adhesive or caulk that might be holding it.
Mount The New Fixture

Begin by turning off the power supply to the existing fixture at the circuit breaker. Carefully remove the old fixtures by unscrewing it from the wall Or ceiling. Once you’ve chosen your new light fixtures, Follow the manufacturer’s instructions for mounting them securely to the wall Or ceiling. Use appropriate screws And anchors if needed. Double-check that the fixtures are level before proceeding to the next step.
Connect Electrical Wiring
With the new fixture in place, it’s time to connect the electrical wiring. Refer back to the photo or notes you took earlier to match the wires correctly. Twist the exposed ends of the wires together, ensuring a tight and secure connection. Cover each connection with a wire nut and wrap it with electrical tape for added safety. If your new fixtures include a ground wire (green or bare copper), connect it to the grounding wire in the electrical box or the green grounding screw on the mounting bracket.
Secure The Fixture In Place
After connecting the wiring, Carefully tuck the wires back into the junction box. Position the new fixtures against the wall Or ceiling And secure them in place using the provided screws Or mounting brackets. Double-check that the fixtures are stable And firmly attached.
Clean Up The Work Area

Before turning the power back on, Clean up any debris or leftover materials from the replacement process. Ensure there are no tools Or loose screws near the fixtures that could cause accidents Or interfere with its proper functioning.
The Final Thought
Replacing a toilet light fixture is a manageable DIY project that can greatly enhance the overall appearance and functionality of your bathroom. By following the steps outlined in this article, you can confidently tackle this task without the need for professional assistance. Remember to always turn off the power before beginning any electrical work and take your time to ensure all connections are secure and wires are properly insulated. With a little patience and attention to detail, you can successfully replace your toilet light component and enjoy a brighter and more stylish space.

