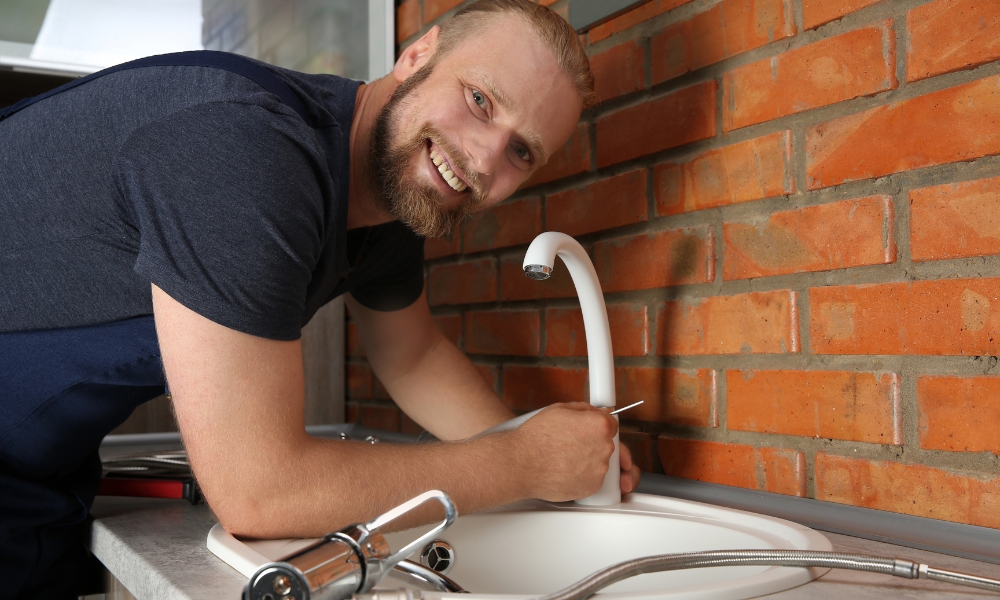
Replace a delta kitchen faucet might seem daunting, but with the right tools and guidance, you can easily swap out your old tube for a new Delta model. Delta faucets are known for their durability and stylish designs, making them a popular choice for many homeowners. In this guide, we’ll walk you through the step-by-step process of replacing your Delta kitchen faucet.
How long does it take to replace a Delta kitchen faucet?
The time it takes to replace a Delta kitchen faucet can vary depending on your experience level and the complexity of the tube model. On average, it takes about 1 to 2 hours to complete the installation.
Tools And Materials You’ll Need
Before you begin, make sure you have the following tools and materials on hand:
- Adjustable wrench
- Basin wrench
- Screwdriver
- Plumber’s tape
- Bucket
- Towels
- New Delta kitchen faucet
- Supply lines
Step-By-Step Guide
Step 1: Turn Off The Water Supply

The first and most crucial step in replacing your Delta kitchen faucets is to turn off the water supply. Locate the shut-off valves under your sink, typically found on the hot and cold water lines. Turn these valves clockwise to stop the flow of water. It’s also a good idea to turn on the tube and let any remaining water drain out. This will help relieve pressure in the lines and minimize water spillage when you disconnect the supply lines. Make sure to place a bucket under the sink to catch any residual water that might escape.
Step 2: Disconnect The Supply Lines

With the water supply securely turned off, it’s time to disconnect the supply lines. Use an adjustable wrench to unscrew the nuts connecting the hot and cold water lines to the faucet. Be prepared for a small amount of water to spill out when you disconnect these lines, hence the need for a bucket and some towels to protect your cabinet from water damage. If your sink has a sprayer or other accessories connected to the tube, make sure to disconnect these as well.
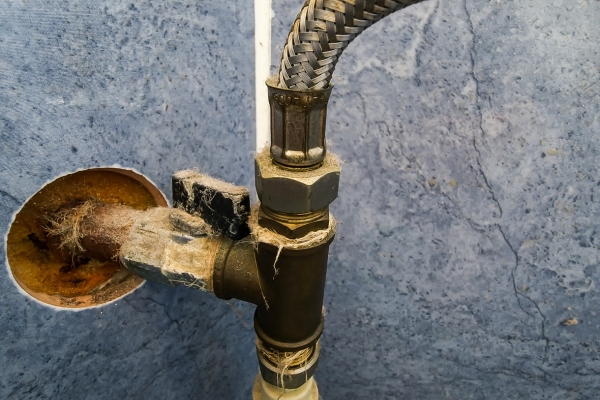
Step 3: Remove The Old Faucet
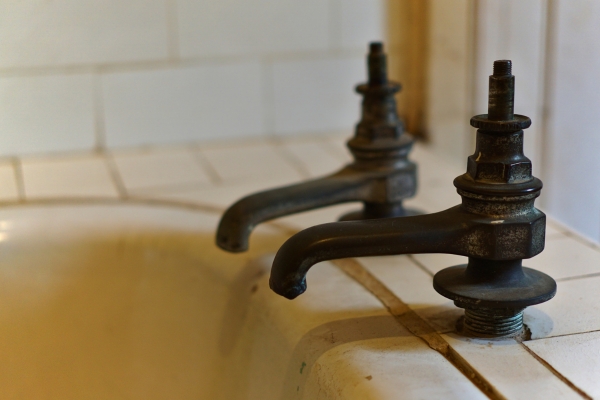
Once the supply lines are disconnected, you can begin removing the old faucet. Use a basin wrench to reach up behind the sink and loosen the mounting nuts holding the tube in place. If your tube has a sprayer hose, make sure to disconnect it from the diverter. Carefully lift the Clean Brass Faucet out of the sink, taking note of how the components fit together, as this can aid in the installation of the new tube. Cleaning the area where the old tube sat is also recommended to ensure a clean surface for the new installation.
Step 4: Prepare The Sink For The New Faucet
Preparing the sink for your new Delta faucet is an essential step to ensure a proper fit and prevent leaks. Start by cleaning the sink area thoroughly, removing any old plumber’s putty or debris left behind. If your new tube includes a gasket or deck plate, position it over the sinkholes according to the manufacturer’s instructions. This will create a seal between the faucets and sink, reducing the risk of water leakage. Ensure that the new faucet’s supply tubes align properly with the sinkholes for a seamless installation.
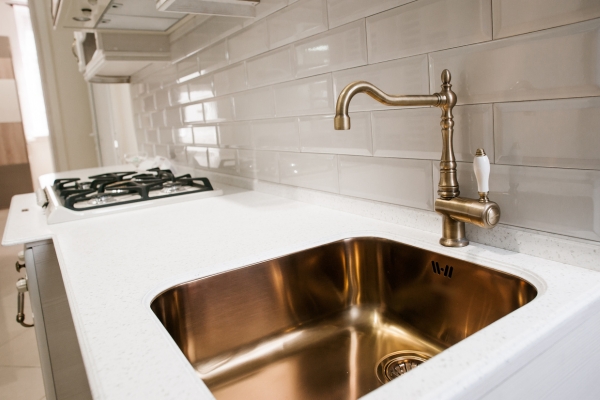
Step 5: Install The New Delta Faucet
With the sink prepared, it’s time to install your new Delta tube. Begin by inserting the faucet’s supply tubes through the sinkholes. Ensure that the tube is centered and properly aligned with the sink. From underneath the sink, secure the tube in place by threading the mounting nuts onto the supply tubes. Use a basin wrench to tighten these nuts, making sure the faucets are firmly attached to the sink. If your tube includes a sprayer, connect the sprayer hose to the faucet body as per the manufacturer’s instructions. Take your time during this step to ensure everything is securely in place, as this will prevent future issues like leaks or wobbly fixtures.
Step 6: Connect The Supply Lines
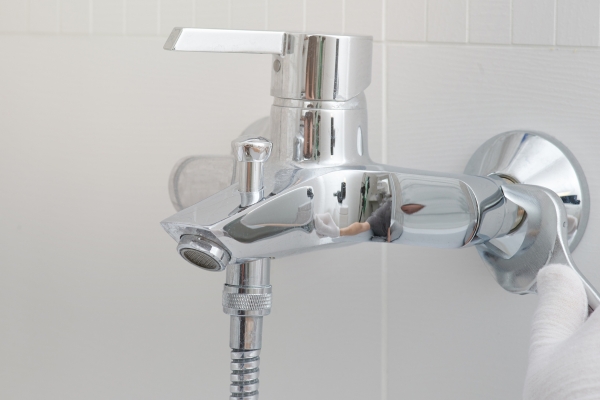
Once the faucet is installed, the next step is to connect the water supply lines. Attach the hot and cold water lines to their corresponding connections on the faucets. To ensure a watertight seal, wrap plumber’s tape around the threads of each connection before tightening them with an adjustable wrench. Be careful not to overtighten, as this can damage the connections or strip the threads. If your tube did not come with new supply lines, it’s a good idea to inspect the existing ones for any signs of wear and replace them if necessary. Properly connecting the supply lines is crucial for preventing leaks and ensuring the efficient operation of your faucets.
Step 7: Test The Faucet
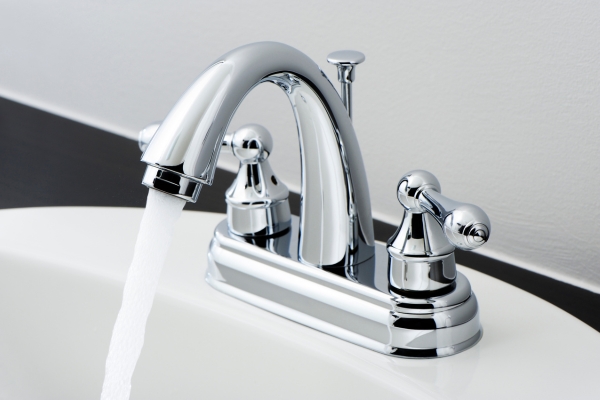
With everything connected, it’s time to test your new Delta faucets. Turn the water supply valves back on by rotating them counterclockwise. Slowly open the tube to allow water to flow through the lines. Check for leaks around the base of the tube and under the sink at the supply line connections. If you notice any leaks, turn off the water supply and tighten the connections as needed. Run both hot and cold water to ensure the tube is working properly and that the water temperature is as expected. Testing the faucets thoroughly helps identify any issues early on, allowing you to address them promptly.
Step 8: Clean Up
After confirming that your new Delta tube is working properly and there are no leaks, it’s time to clean up. Remove any tools and materials from the work area and dispose of the old faucet and any packaging materials. Wipe down the tube and surrounding sink area to remove fingerprints, smudges, or debris. If there are any remaining water stains or marks from the installation process, use a mild cleaner to restore the shine to your sink and faucet. A clean and organized workspace not only looks good but also allows you to enjoy the satisfaction of a job well done.
Tips For A Successful Installation
- Read the Instructions: Always refer to the manufacturer’s instructions that come with your new Delta faucets for specific installation details.
- Check for Compatibility: Ensure your new tube is compatible with your sink’s configuration (e.g., number of holes).
- Take Your Time: Don’t rush the installation process. Carefully follow each step to avoid potential issues.
Conclusion
Replacing a Delta kitchen faucet is a manageable DIY project that can refresh the look and functionality of your kitchen. By following this guide and taking the necessary precautions, you can successfully install your new tube and enjoy its benefits for years to come. If you encounter any difficulties or prefer professional assistance, consider hiring a licensed plumber to ensure a flawless installation.

