
These unsung heroes of The bathroom are more than just bristles on a stick. They’re the trusty sidekicks In our battle against grime And germs, tirelessly scrubbing away to keep our toilets sparkling and hygienic. Designed To dive into the nooks And crannies that we’d rather not think about, toilet brushes work their magic where mere mortals fear to tread. So, let’s give A little nod To these humble tools, For they truly are the knights in shining armor in the world of bathroom cleanliness.
History of Toilet Brushes

Let’s embark on A little journey through time, exploring The history of bathroom brushes. Picture this: It’s the late 19th century, a time when modern sanitation was just finding Its feet. The invention of The toilet brush marked a significant leap In household hygiene. Before these handy tools graced our bathrooms, folks resorted to a variety of less effective and, frankly, less hygienic methods for keeping their porcelain thrones clean. The introduction of The bathroom not only made cleaning toilets more effective but also helped In maintaining A higher standard of cleanliness In an era when public health awareness was just beginning to bloom.
Importance of Toilet Brushes

Fast forward to today, And the importance of Use a toilet brushes in our daily lives Is, well, pretty clear. These aren’t just tools; they’re guardians of hygiene. In the battle against bacteria and grime, toilet brushes stand on The front lines. They reach where we Can’t (and honestly, where we’d rather not) to scrub away hidden nasties. A clean bathroom isn’t just about appearances; It’s about health. Every swirl And swish of the brush works against the buildup of harmful germs, ensuring that our bathrooms remain not just visibly clean, but hygienically safe As well.
Importance of Choosing the Right Toilet Brush
Now, let’s talk about The importance of choosing The right toilet brush, because, let’s face It, not all brushes are created equal. It’s not just A matter of aesthetics; it’s about functionality And hygiene. A good bathroom should have sturdy bristles that Can tackle tough stains without falling apart. The handle matters too – It should be long enough For comfortable use and designed to prevent back splash. And let’s not forget about storage – A well-designed toilet brush comes with A holder that not only stores It neatly but also allows It to dry properly, preventing bacteria growth. In the end, choosing The right bathroom isn’t just about keeping your toilet clean; It’s about making the cleaning process As hygienic and hassle-free as possible.
Types Of Toilet Brushes
1. Traditional Brushes
Ah, the old-school classic! Traditional toilet brushes usually feature A plastic or metal handle with nylon bristles. These are the tried-and-true warriors of bathroom cleaning, known for their affordability And widespread availability. They’re pretty straightforward To use and can get into those hard-to-reach areas with A bit of elbow grease. However, They do have a downside. The bristles Can sometimes harbor bacteria and require regular replacement to maintain hygiene.
2. Silicone Brushes

Stepping into The modern era, silicone brushes are like The sleek, upgraded version of their traditional counterparts. These brushes boast silicone bristles, which are known For being more hygienic. They’re A cinch to clean, often just needing A quick rinse under hot water, And they’re less likely To hold onto debris and bacteria. Plus, they’re durable – these brushes Can last longer without the bristles getting all matted And sad-looking. The smooth, flexible bristles of silicone brushes are also gentle on The toilet surface, reducing the risk of scratches.
3. Disposable Brushes
For those who want To skip the cleaning part of The cleaning tool, disposable brushes are The way to go. These usually come with a handle and A set of disposable brush heads. After scrubbing, You can simply detach and dispose of The brush head, eliminating The concern of bacteria buildup. They’re super convenient And ensure a high level of hygiene. However, they’re not The most environmentally friendly option, given the single-use nature of The brush heads, and Can be more expensive in The long run due to the need for regular refills.
Step-by-Step Guide to Using a Toilet Brush
1. Preparation
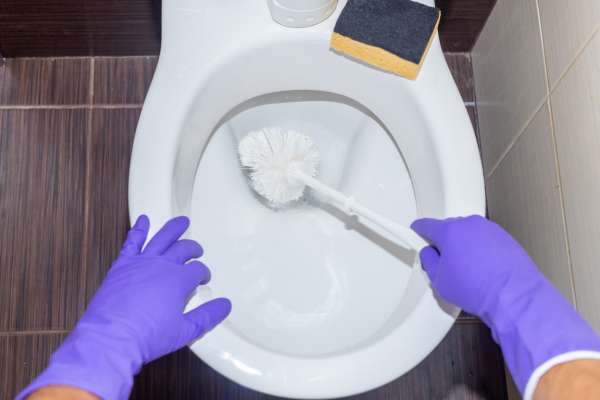
- First and foremost, don your gloves. This isn’t just about keeping your hands clean; It’s also about protecting them from germs And harsh chemicals.
- Ensure You have all the necessary items at hand. This includes the toilet brush, A toilet cleaner (commercial or a DIY mix), And perhaps A bucket of water For rinsing.
2. Applying Cleaner
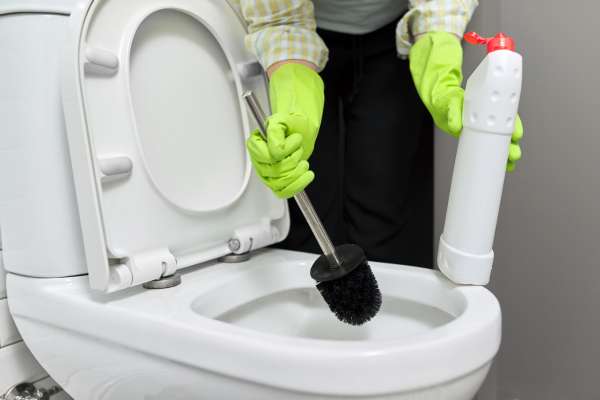
- You can go with A commercial toilet bowl cleaner or a homemade mix. For A DIY cleaner, A mixture of vinegar and baking soda often does The trick.
- Aim the nozzle of the cleaner under The rim of the bathroom bowl and squirt It around the circumference. Then, apply more cleaner around the inside of The bowl. The goal is to coat The areas where stains And bacteria are likely to accumulate.
- Pay special attention to under the rim, As this area often harbors hidden grime And buildup.
3. Let it Sit
- After applying The cleaner, don’t jump straight into scrubbing. Let The solution sit for A few minutes. This wait time allows the cleaner To break down stains, limescale, And bacteria.
- Depending on The cleaner used, The wait time Can vary. For most commercial cleaners, 5-10 minutes should suffice. For natural cleaners like vinegar And baking soda, You might want To wait a bit longer, around 10-15 minutes.
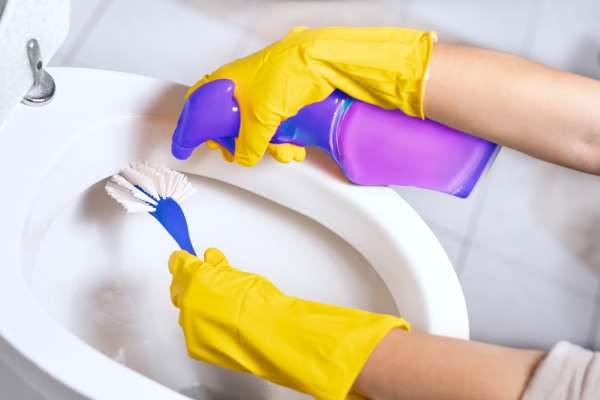
4. Scrubbing Time
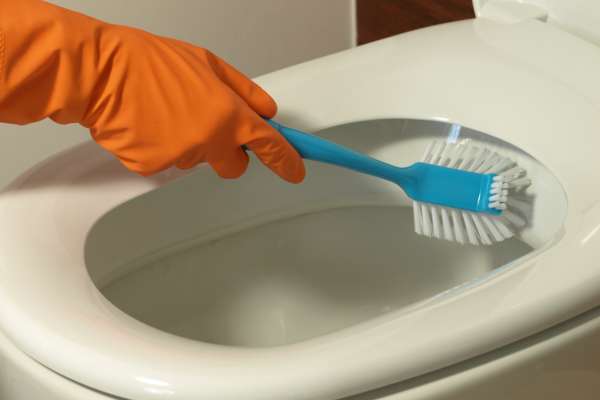
- Begin scrubbing under The rim. This area often has The most hidden grime.
- Use The brush to scrub the entire bowl. Pay special attention To any stains or rings. The bristles should reach all areas, including the water line And the hole at the bottom.
- Apply enough pressure To Remove stains without damaging The toilet’s surface.
5. Final Flush

- With the brush still In the bowl, flush The toilet. This helps rinse away The loosened debris And cleaning product.
- As The water flushes, give A few more scrubs, especially under the rim, to ensure You rinse away all the cleaner And debris.
6. Rinse the Brush
- Hold The brush in The freshly flushed water. Move it around To rinse off any clinging debris And cleaner. You can also give it a gentle shake In the water.
- If the brush Is still dirty, you may need To flush again and rinse the brush In the clean water.
7. Storing the Brush

- Before placing The brush back in Its holder, gently shake off any excess water.
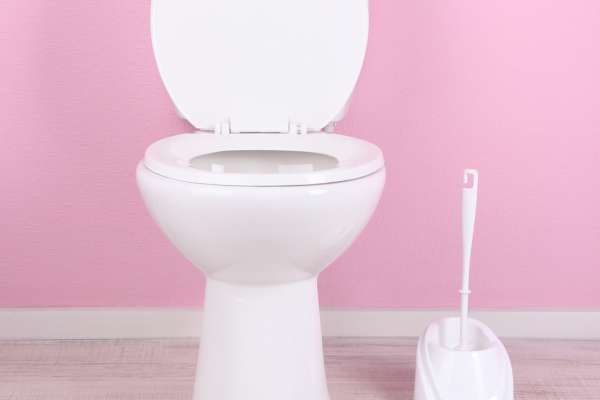
- Store the brush In its holder in a way that allows air To circulate, which helps The brush dry and reduces The risk of bacterial growth.
- Make sure The brush doesn’t touch the wall or floor, And the holder doesn’t sit in A puddle of water.
Toilet Brush Alternatives:
- Pumice Stone: Great for tough stains. Gently rub It on stains to avoid scratching The porcelain.
- Baking Soda and Vinegar: An eco-friendly method. Sprinkle baking soda In The bowl, pour vinegar over It, let it fizz, then scrub with a regular toilet brush or A non-abrasive sponge.
- Bathroom Bombs: Drop one In the bowl, let it fizz and do Its work, then give A quick scrub or flush.
- Disposable Toilet Wands: These come with disposable, pre-soaked cleaning heads, offering convenience And Hygiene.
Conclusion
Using A toilet brush might seem straightforward, but doing It correctly ensures A clean, hygienic bathroom and extends the life of the brush. Whether You stick with the traditional toilet brush method or opt For alternatives, maintaining A clean toilet is crucial For A healthy, hygienic bathroom. Remember, whatever method You choose, regular cleaning Is key to keeping those pesky germs at bay!

