The modern bathroom stands as a testament to the perfect marriage between utility and style. A space-saving shower caddy is not just a functional addition, but an element of finesse that transforms a mundane shower routine into a more organized, pleasurable experience. Despite what may seem like a daunting installation process, adding a shower caddy to your bathroom can be an effortless project with the right guidance. Whether you’re aiming to declutter or simply elevate your bathroom’s aesthetic, mastering the art of installing a shower rack is a task worth undertaking.
Understanding The Types Of Shower Caddies: Pick The Right One For Your Space
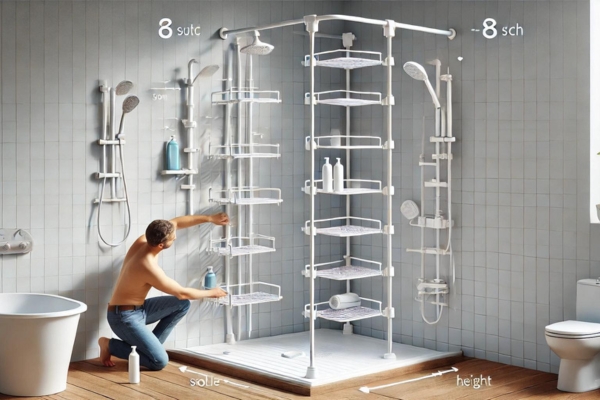
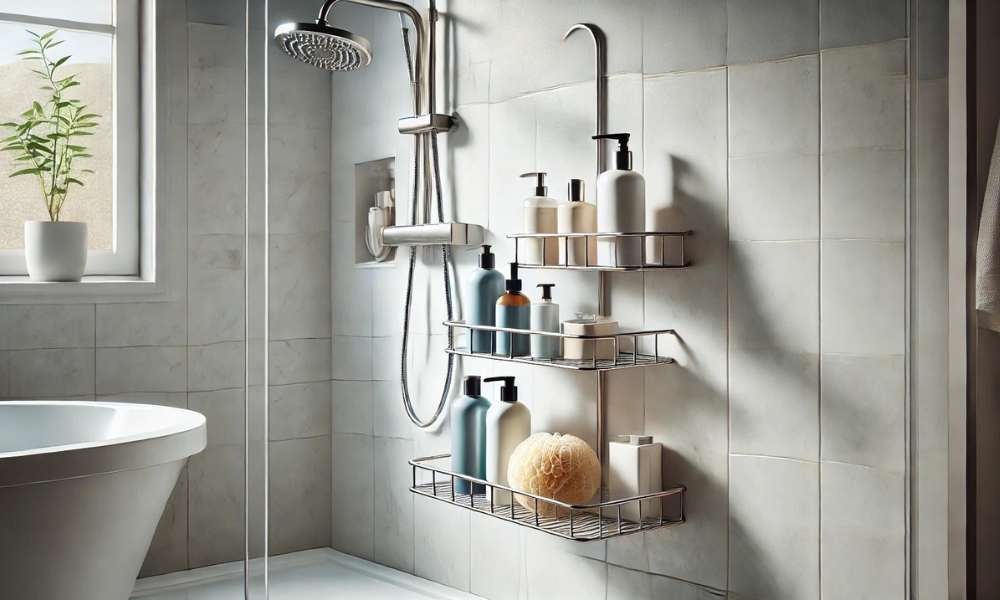
Choosing the perfect shower caddy sets the stage for transforming your space into an orderly sanctuary. Various options cater to distinct bathroom configurations and individual needs. The over-the-showerheadrack is a classic choice, particularly if you want a no-fuss installation. It dangles effortlessly from the showerhead, requiring neither tools nor adhesives. If vertical storage is your aim, a corner tension pole caddy stands tall and sleek, fitting snugly in a shower corner to maximize every inch of space. Suction cups or adhesive caddies, minimalist in design, cling directly to walls without compromising aesthetics, while the freestanding rack offers versatility, demanding no permanent installation but occupying a bit more floor space.
How To Attach A Shower Caddy To Tile
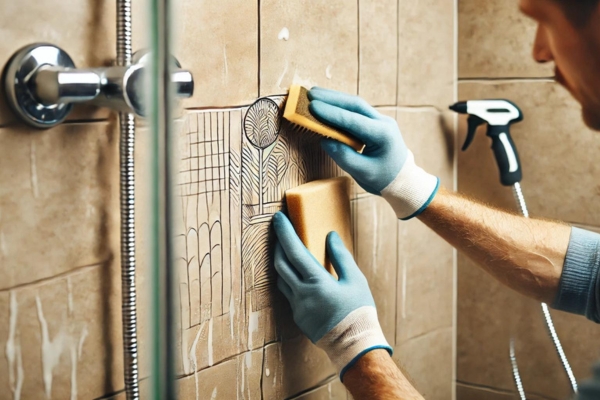
To Attach A Shower Caddy To Tile, sleek and smooth, present both a challenge and an opportunity. Installing a caddy on such a surface, especially with suction cups or adhesive, calls for precision. A pristine surface is paramount. Begin by cleansing the tiles, eliminating any lingering soap scum or residue, as even the slightest debris can thwart your efforts. Once clean, press the suction cups or adhesive strips firmly against the surface. A tight bond ensures longevity. Should you anticipate heavier items, select a rack built for durability, capable of bearing the extra load without compromising its attachment to the tiles.
How To Hang A Shower Caddy On The Wall
For those seeking a more permanent solution, hanging a shower caddy on the wall offers stability that stands the test of time. Whether you’re using screws, anchors, or adhesive strips, the installation requires a calculated approach. The height is crucial—too high and it’s out of reach, too low and it becomes an obstruction. After marking the ideal spots for drilling or adhering, clean the surface thoroughly to ensure a solid attachment. If drilling through tile, opt for a ceramic drill bit to avoid cracks. Once mounted, let the caddy settle before adding your shower essentials.
Choosing The Best Location For Your Shower Caddy
Location is everything. Ideally, your shower caddy should be within arm’s reach—close enough to access effortlessly, yet distant enough to avoid hindering movement. Avoid positioning the rack directly in the water stream, as this can lead to faster wear and potential mould buildup. Corners often serve as prime real estate, offering both stability and discretion. If you select an over-the-showerhead model, ensure it’s high enough not to disrupt water flow but low enough to reach conveniently.
Gathering Tools And Materials: What You’ll Need For Installation

Preparation is the unsung hero of any successful installation. Depending on the caddy type, you may need a variety of tools. A drill, level, suction cups, adhesive strips, and screwdrivers are common items to have at the ready. For adhesive caddies, a cleaning solution is essential to prep the surface properly. Having a level is key to ensuring the rack hangs straight, avoiding that dreaded slant that can lead to items sliding off.
Preparing Your Shower For Installation

The importance of a clean surface cannot be overstated. Begin by thoroughly scrubbing the installation area, removing all traces of soap, mildew, and moisture. If you’re drilling into tiles, mark your spots with care, and double-check for hidden plumbing or wiring behind the walls. Ensure everything is bone dry before proceeding, as moisture can compromise adhesive strength or interfere with suction.
Installing An Over-The-Showerhead Caddy

Simplicity reigns supreme with an over-the-showerhead caddy. This installation requires no tools or adhesives. Simply slip the caddy over the showerhead and let gravity do its work. Some models come equipped with suction cups or adhesive tabs that can secure the base to the wall, preventing any sway. Adjust the shelves to accommodate your products, ensuring the weight is evenly distributed for stability.
Installing A Corner Tension Pole Shower Caddy

For those with limited wall space, a corner tension pole caddy offers an elegant solution. Begin by assembling the pole and adjusting its height to fit between your shower floor and ceiling. Place the pole in the corner and engage the tension mechanism until the pole feels securely wedged. The tension ensures the caddy remains upright and sturdy. Arrange the shelves at different heights for optimal storage, balancing larger shampoo bottles with smaller items.
Installing An Adhesive Or Suction Cup Shower Rack

The beauty of an adhesive or suction cup shower caddy lies in its flexibility and ease of installation. Begin by thoroughly cleaning and drying the surface. Once dry, apply the suction cups or adhesive strips to the back of the caddy and press it against the wall. Hold it there for a few moments to ensure it adheres properly. For best results, allow several hours before adding any weight to the caddy to let the bond fully set.
Installing A Freestanding Shower Rack
Freestanding shower caddies eliminate the need for any installation whatsoever. However, placement is key. Ensure the caddy is positioned on a level surface, away from direct water flow to prevent slipping. Distribute your items evenly across the shelves to prevent it from tipping over. If necessary, add rubber pads beneath the legs for extra grip.
Testing The Stability Of Your Shower Rack
Once installed, give your shower caddy a light shake to assess its stability. If it sways or shifts, adjustments must be made. Over-the-showerhead caddies may need additional suction cups or adhesive stabilizers to prevent movement. Tension pole caddies might require tightening, while adhesive or suction cup models may need repositioning to ensure a secure fit. Freestanding caddies should sit firmly without any wobble.
Maximizing Storage Space In Your Shower Rack

A shower caddy is only as useful as its organization. To make the most of its storage potential, arrange larger items such as shampoo and body wash on the lower shelves, where they’re easily accessible. Smaller items, like razors or bars of soap, belong on the upper tiers. Utilize hooks for hanging loofahs or washcloths. For a streamlined experience, group similar products together—haircare on one shelf, skincare on another.
Dealing With Shower Rack Maintenance And Cleaning
It is constantly exposed to moisture, soap scum, and product residue. Regular maintenance ensures its longevity. Wipe down the caddy weekly with a gentle cleanser, such as a mix of water and vinegar. For metal caddies, dry them thoroughly after each use to prevent rusting. Suction cup caddies should be removed periodically, cleaned, and reattached to maintain their suction power.
Troubleshooting Common Installation Issues
Sometimes, despite your best efforts, issues arise. If suction cups refuse to stick, try moistening the surface slightly or applying a thin layer of petroleum jelly around the rim. If a tension pole caddy feels unsteady, readjust the tension or consider moving it to a different corner. For over-the-showerhead caddies that slide, a rubber band or showerhead clip can stabilize the top.
Tips For Childproofing Your Shower Rack
Childproofing your bathroom is essential, It is no exception. Store sharp or hazardous items, like razors or cleaning products, on the highest shelves—out of little hands’ reach. Ensure the caddy is securely attached, so it won’t topple if tugged. Opt for caddies made of plastic or rust-resistant materials to avoid sharp edges and potential injuries.
Alternatives To Traditional Shower Caddies: Exploring Creative Solutions
If conventional caddies don’t fit your style, explore alternative storage options. Wall-mounted shelves offer a sleek, modern appearance. Magnetic soap holders provide a minimalist touch. Portable shower organizers can be easily moved and are perfect for shared bathrooms. These creative solutions can cater to your unique style while maintaining function.
The Benefits Of Using A Shower Rack For Beginner Gardeners
Gardening can be messy, leaving you in need of a quick and efficient clean-up. A well-organized It makes it easy to store dirt-scrubbing soaps, brushes, and soothing oils, ready to use after a day of working with the soil. For beginner gardeners, a caddy provides a structured routine to transition from garden work to relaxation.
Seasonal Maintenance Tips For Your Shower Caddy
Your shower rack endures changes in humidity and moisture throughout the year. In the summer, increased humidity may accelerate mold growth, so clean it more frequently. In winter, when rust is more likely, a rust-resistant rack or protective coating is a wise choice. Regular maintenance according to the seasons will keep your caddy pristine year-round.
Eco-Friendly Shower Caddy Options: Sustainable Choices For Your Bathroom
For the environmentally conscious, eco-friendly shower caddies offer a guilt-free solution. Bamboo caddies are water-resistant and biodegradable, while stainless steel models are durable and recyclable. Consider products made from recycled materials or those supporting sustainable manufacturing practices to make a positive impact on the environment.
Customizing Your Shower Caddy: Personalizing For Your Needs
A shower rack doesn’t have to be purely functional—it can also reflect your personality. Add extra hooks or shelves to tailor it to your needs. Paint the rack to match your bathroom décor or attach small containers for extra storage. Customizing your caddy not only adds practicality but also a personal touch.
Shower Caddy Safety: How To Ensure A Safe And Secure Installation
Safety must always come first. Whether using screws, suction cups, or adhesive strips, ensure your caddy is securely fastened to prevent accidents. Don’t overload it with heavy items that could cause it to collapse. For tension pole caddies, regularly check the tension to avoid loosening. By securing your rack properly, you guarantee a safe, long-lasting addition to your bathroom.
Conclusion
Installing a shower caddy can revolutionize your shower routine. With a variety of styles, tools, and techniques at your disposal, the installation process is not only manageable but enjoyable. The right shower rack enhances functionality and aesthetics, making your bathroom a more organized and pleasant space for years to come.


