
Changing a bathroom ceiling light bulb may seem like a simple task, But it can often be more challenging than anticipated. Whether you’re dealing with a burnt-out bulb Or just want to upgrade to a brighter And more energy-efficient option, knowing how to change the light globe in your bathroom ceiling is essential knowledge for any homeowner Or renter. In this article, We will guide you through the step-by-step process of changing a bathroom roof light globe, Ensuring that you can illuminate your space effectively And safely.
Switch Off The Light Switch

Safety is paramount when dealing with electrical components. Before attempting to change the bathroom ceiling light bulb, Head to your bathroom’s electrical panel And switch off the circuit that supplies power to the specific light fixture. Once the light switch is off, Wait a few moments to allow the fixture to cool down, Reducing the risk of burns Or shocks during the replacement process.
Remove The Old Light Bulb
Changing a bathroom light fixture may seem like a daunting task, but with some simple steps, you can easily remove the old lamp globe and install a new one. Once the power supply is disconnected, gently access the lamp fixture by either unscrewing or unclipping the cover, depending on the type of fixture you have. Carefully remove the old lamp globe by turning it counterclockwise. If the bulb is stuck or difficult to remove, avoid excessive force, as it may cause the bulb to break, resulting in potential injury. Instead, use a clean cloth or rubber gloves to grip the bulb securely and turn it gently until it comes free.
Check For Dust Or Debris

With the old light globe removed, Take a moment to inspect the fixture for any accumulated dust Or debris. Over time, Dirt And grime can gather on the inside And outside of the fixture, Reducing its efficiency And overall brightness. To ensure optimal lighting performance, Use a soft, Dry cloth to carefully wipe away any dust Or dirt present on the fixture’s interior And exterior surfaces.
Clean The Fixture Gently

Cleaning the fixture’s cover or casing is equally important. If the cover is removable, detach it from the fixture and wash it with warm, soapy water. Make sure the cover is completely dry before reattaching it to the fixture. For fixtures without removable covers, use a damp cloth to wipe away any dirt or smudges, ensuring a clear and unobstructed lamp output.
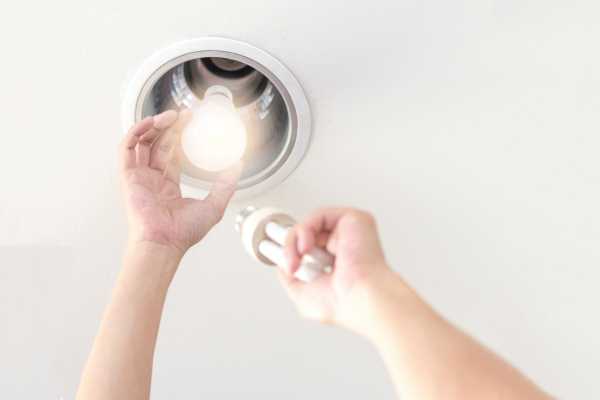
Install The New Light Bulb

Now that the fixture is clean And ready, It’s time to install the new light globe. Ensure the new bulb matches the specifications of the old one, including wattage And fitting type. Insert the bulb into the fixture’s socket and gently turn it clockwise until it is securely in place. Avoid overtightening the bulb, As it may lead to damage Or difficulty in future replacements.
Turn On The Power Supply

Before moving on to testing the new light globe, retrace your steps and double-check that everything is properly secure. Once you are confident that the new bulb is securely install and the fixture cover is back in place, head to the electrical panel and switch on the circuit that supplies power to the bathroom lamp fixture.
Test The New Light Bulb

With the power supply restored, return to the bathroom and flip the light switch back on to test the recent light globe. Observe the fixture’s illumination, ensuring that the bulb is functioning correctly and emitting the expected amount of lamp. If the bulb fails to lamp up, repeat the installation process, ensuring that the bulb is correctly seat in the socket.
The Final Thought
Changing a bathroom roof light globe may seem like a daunting task, But with the right tools And techniques, It can be easily accomplished. Remember to turn off the power before beginning any work And use a sturdy ladder Or step stool to reach the light fixture safely. Take your time to carefully remove the old bulb And replace it with a new one of the same wattage And size. Lastly, Always test the new bulb to ensure it is working properly before turning on the power again. With these steps in mind, You can confidently change your bathroom ceiling lamp globe And enjoy a well-lit space once more.

