Install sliding shower doors can be a transformative addition to any bathroom, enhancing both its functionality and aesthetic appeal. This guide is designed to walk you through the process of how to install shower doors, ensuring a smooth and successful installation. Whether you’re a DIY enthusiast or a first-timer, this step-by-step approach will provide you with the necessary insights and tips to achieve a professional-looking finish, elevating your bathroom’s design while ensuring a water-tight, efficient shower enclosure. With careful planning and the right tools, you’ll find that installing sliding shower doors is a manageable and rewarding project.
What’s The Best Way To Measure Sliding Shower Doors?
The first step in how to install shower doors is to accurately measure the space where they will be installed. Measuring correctly is crucial, as it determines the size of the doors you need to purchase. Start by measuring the width at the top, middle, and bottom of your shower opening, as walls can be uneven. Use the largest of these measurements to ensure the doors will cover the entire opening. Next, measure the height from the top of the shower base or tub edge to the height you want the door to reach. Remember, Install precise measurements are key to ensuring a perfect fit and seamless operation of your sliding shower doors.
Importance Of Proper Installation
Proper install of sliding shower doors is vital for several reasons. Firstly, it ensures that the doorstep function smoothly and efficiently, providing easy access to the shower area. Secondly, correct installation is critical to prevent water leakage, which can cause damage to your bathroom floors and walls over time. Moreover, well-installed shower doors enhance the overall safety of the unit, reducing the risk of doorstep derailing or shattering. Lastly, a properly installed sliding shower door adds to the aesthetic appeal of your bathroom, aligning seamlessly with your interior design.
Tools And Materials Needed

To successfully install shower doors, having the right tools and materials on hand is essential. You will need a tape measure for accurate measurements, a level to ensure everything is perfectly aligned, and a drill for installing the door tracks and handles. Additionally, you’ll need a hacksaw or a diamond blade for cutting the tracks to the correct size, silicone caulk for sealing the door frame, and a screwdriver for fitting the hardware. It’s also advisable to have safety equipment such as gloves and safety glasses. Ensure you have all these tools and materials before starting the installation to make the process smoother and more efficient.
Installing Process
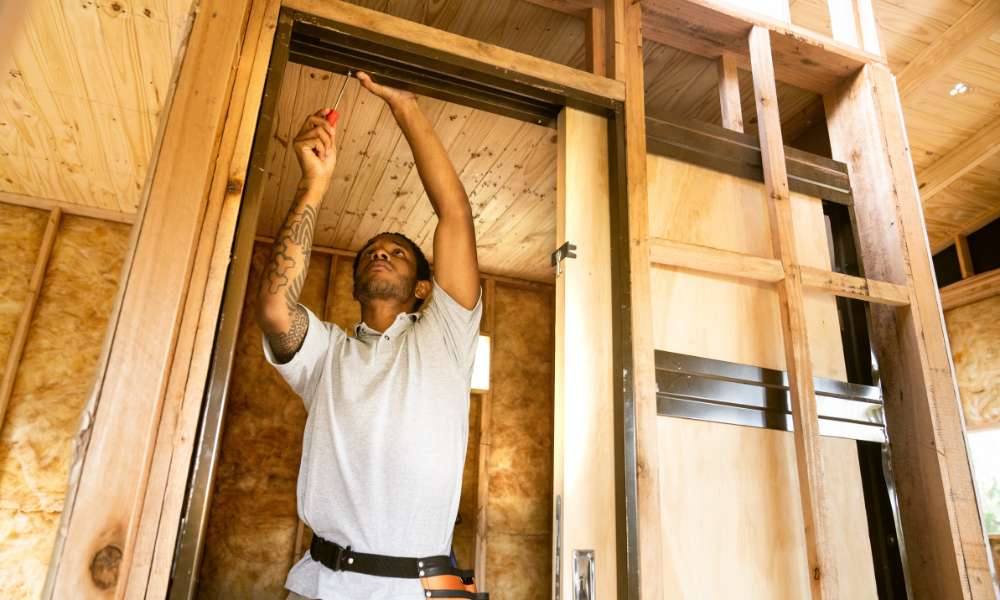
1. Preparing the Shower Area

The initial step in the process of how to install sliding shower doorstep is preparing the shower area. This involves ensuring the area is clean and dry. Start by removing any old caulk or adhesive from the edges of the shower base or bathtub where the new doors will be installed. It’s important to repair any damage to the surrounding tiles or shower enclosure, as this can affect the stability and alignment of the doors. Use a level to check that the shower base or bathtub is even; an uneven base can cause issues with door installation and function. Once the area is clean, dry, and level, you’re ready to proceed to the next step.
2. Installing the Bottom Track

After preparing the shower area, the next step in installing a sliding shower doorstep is to install the bottom track. Begin by placing the bottom track on the edge of the shower base or bathtub, aligning it with your earlier measurements. Ensure that the track is centered and level. If necessary, use a hacksaw to trim the track to the correct length, ensuring a snug fit. Once positioned correctly, mark the locations for the drill holes. Remove the track and drill holes at the marked spots, then secure the track in place using screws. It’s crucial to apply a bead of silicone caulk along the underside of the track before installation to prevent water leakage. After securing the track, wipe away any excess caulk and allow it to set as per the manufacturer’s instructions. This creates a watertight seal and lays a firm foundation for the remaining installation steps.
3. Setting Up The Side Jambs

Once the bottom track is securely installed, the next step in installing a sliding shower doorstep is setting up the side jambs. These are the vertical frames that will hold the doors in place. Begin by positioning a side jamb at one end of the bottom track, ensuring it’s perfectly vertical using a level. Mark the drill holes on the wall through the pre-drilled holes in the jamb. Remove the jamb and drill the holes in the marked spots. Use wall anchors if necessary for additional support, especially in tiled walls or other hard surfaces. Once the holes are prepared, line the jamb backup and secure it with screws. Repeat this process on the other side of the shower opening. Ensure both jambs are aligned with each other and perpendicular to the bottom track for smooth door operation.
4. Placing The Top Track
After the side jambs are in place, the next phase is placing the top track. This track must align with the bottom track and the side jambs to ensure the doors slide smoothly. Lift the top track and position it atop the side jambs. Before securing it, use a level to check that it’s perfectly horizontal. If the top track is not level, the doorstep might not slide properly or may appear uneven. Once it’s aligned, mark the drilling points on the side jambs through the pre-drilled holes in the top track. Then, secure the top track to the side jambs with screws. Avoid over-tightening the screws, as this can warp the track. The successful installation of the top track marks a significant step towards completing the installation of your sliding shower doorstep.
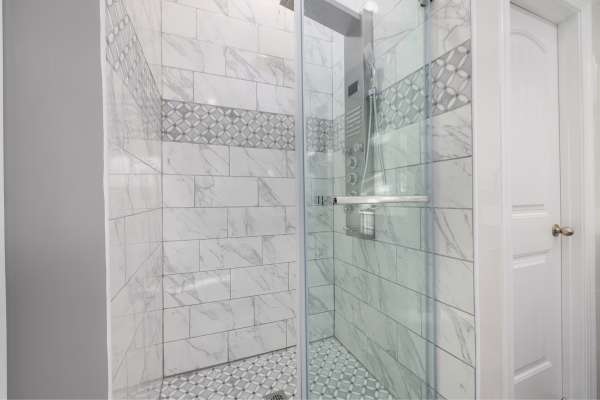
5. Hanging The Sliding Doors
With the tracks and jambs securely in place, the next step in install sliding shower doors is hanging the doors themselves. Start by identifying the inner and outer doors based on the manufacturer’s instructions. Lift the first door and angle the bottom slightly to fit the rollers or glides into the top track. Gently lower the door into the bottom track. Ensure it moves smoothly back and forth in the tracks. If it’s sticking or not aligning correctly, adjust the rollers or glides according to the manufacturer’s instructions. Repeat this process with the second door, ensuring that both doors slide without interference and that the overlap between them is consistent along their entire height.
6. Securing And Sealing
The final step in installing sliding shower doors involves securing and sealing them to ensure stability and water-tightness. Begin by installing any door guides or bumpers that come with the door kit. These components keep the doors aligned and prevent them from swinging outwards. Once the doors are moving correctly and aligned, it’s time to seal the enclosure. Apply a bead of silicone caulk along the inside of the bottom track and the areas where the side jambs meet the shower walls. Be careful to apply the caulk smoothly to prevent gaps and ensure a neat finish. Allow the caulk to dry completely as per the manufacturer’s instructions. This sealing process is crucial as it prevents water from escaping the shower area, protecting your bathroom from water damage. After the caulk has dried, your sliding shower doorstep are now securely installed, sealed, and ready for use.
7. Waterproofing Tips
Effective waterproofing is a critical component in the process of install sliding shower doors, ensuring long-term durability and preventing water damage. After sealing the enclosure with caulk, it’s important to check for any gaps or areas where water might escape. Pay extra attention to the junctions where the tracks and jambs meet, as these are common spots for leaks. If your shower area is prone to high water exposure, consider applying a clear silicone sealant along the outside of the door frame as an additional barrier. Regular maintenance, including checking the condition of the silicone sealant and replacing it when necessary, also plays a vital role in waterproofing. Keeping the door tracks clean and free from debris ensures proper drainage and reduces the risk of water buildup.
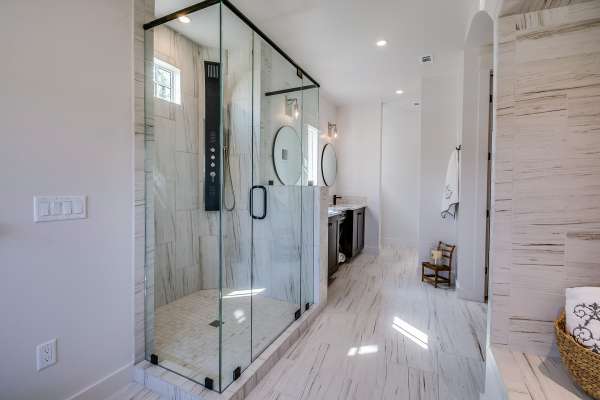
8. Finishing Touches And Clean-Up

After the installation and waterproofing of your sliding shower doorstep, the final step is adding finishing touches and cleaning up. Remove any installation debris, dust, or excess caulk from the shower area. If your sliding door kit includes cover caps or decorative trim, install them as directed to conceal screws or hardware for a polished look. Check the alignment and operation of the doors once more, making any minor adjustments if needed. Cleaning the glass doors with a suitable cleaner will remove fingerprints or smudges, enhancing their clarity and shine. Finally, step back and review your work, ensuring everything looks aligned and operates smoothly. With these finishing touches, your sliding shower doors install is complete, leaving you with a functional and aesthetically pleasing addition to your bathroom.
Safety Considerations During Installation
When installing sliding shower doorstep, prioritizing safety is crucial. First and foremost, always wear protective gear, including safety glasses and gloves, to protect against flying debris when drilling or cutting. Ensure the area is well-lit to avoid mishaps. When handling glass doors, move slowly and deliberately to prevent injury or breakage. It’s also important to be mindful of your posture and lifting techniques to avoid strain or injury, especially when handling heavy glass panels. Keep your work area clean and free of clutter to prevent tripping hazards. Additionally, when drilling, be aware of any electrical wiring or plumbing hidden in the walls to avoid accidents. Using the right tools and following the manufacturer’s instructions carefully will also significantly reduce the risk of accidents or installation errors.
When To Call A Professional

While DIY installation of sliding shower doorstep can be a rewarding project, there are instances when it’s advisable to call a professional. If the installation process seems overwhelming or if you lack the necessary tools and skills, hiring a professional is a safer choice. Additionally, if your shower area has an unusual design, such as non-standard dimensions or uneven walls, a professional installer can ensure that the doors are fitted correctly. Complex installations that involve custom doors or significant modifications to your bathroom also warrant professional expertise. Lastly, if you encounter any problems during the DIY installation process, such as difficulty aligning the doors or ensuring a water-tight seal, it may be time to seek professional assistance to ensure a safe and successful installation.
What Should I Do If The Doors Are Not Aligning Properly?
If you encounter alignment issues with your sliding doors, there are several steps you can take to resolve the problem. Firstly, check the alignment of the top and bottom tracks; they should be parallel to each other. If they are not, loosen the screws and adjust the tracks as needed. Next, inspect the rollers or glides on the doors. Many sliding doors have adjustable rollers, which can be fine-tuned with a screwdriver to alter the height or angle of the doors. Adjust these rollers until the doors hang evenly and move smoothly. Additionally, ensure that the side jambs are plumb and securely fastened. If the doors still aren’t aligning, it’s possible that the walls or shower base are not perfectly level, in which case shimming the tracks or jambs may be necessary. If these adjustments don’t resolve the issue, it might be a sign of incorrect installation or a defect in the doors or hardware, and consulting the manufacturer’s instructions or a professional may be necessary.
Conclusion
Installing sliding doors can significantly enhance the functionality and aesthetic of your bathroom. While it requires careful planning, precise measurement, and attention to detail, it’s a feasible project for those with basic DIY skills. Key steps include preparing the area, installing tracks and jambs, hanging the doors, and ensuring proper waterproofing and alignment. Safety should always be a priority, and knowing when to call a professional is important for a successful installation. Should you encounter issues like misaligned doors, simple adjustments can often rectify these problems. With these guidelines in mind, you can achieve a well-installed, efficient, and stylish sliding shower door, adding both value and appeal to your bathroom.

