Creating a stylish and functional vanity unit can transform your bathroom or bedroom, providing both a practical storage solution and an elegant focal point. In this guide on “How To Make A Vanity Unit,” we will walk you through the step-by-step process, from selecting the right materials to adding the finishing touches. Whether you are a DIY enthusiast or a beginner, our detailed instructions and helpful tips will ensure your vanity unit project is a success. By the end, you’ll have a beautiful, custom-made piece that enhances your living space and showcases your craftsmanship.
What Is a Vanity Unit?
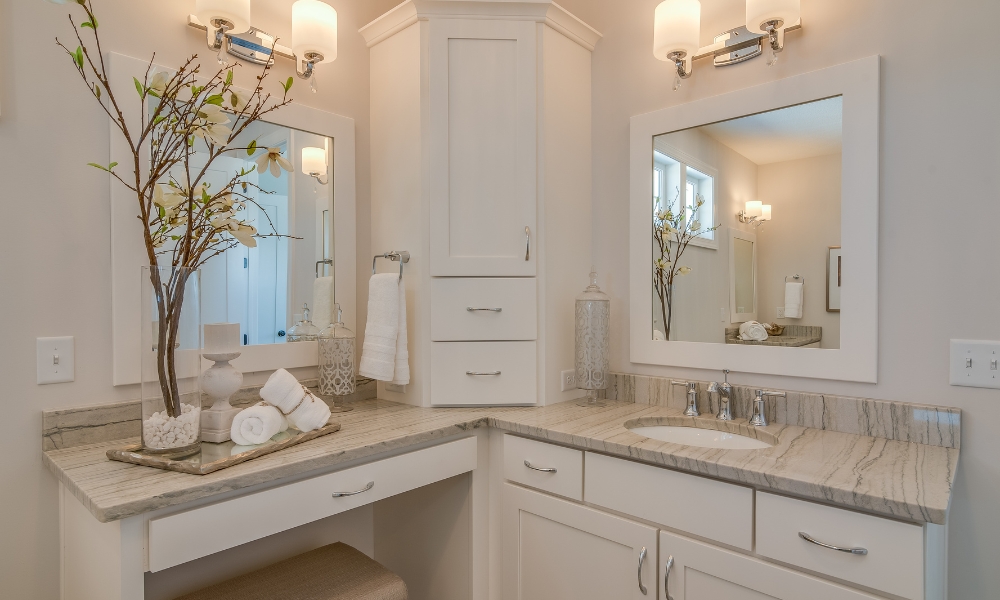
A vanity unit is a versatile piece of furniture typically found in bathrooms or bedrooms, serving both practical and aesthetic purposes. It consists of a sink or basin, often set into a countertop, along with storage compartments such as drawers or cabinets. The design of a Make A Vanity Unit can vary widely, ranging from sleek and modern to ornate and traditional, allowing for customization to suit different decor styles and space requirements. Its primary function is to provide storage for toiletries, cosmetics, and other essentials while also offering a designated area for grooming tasks like washing hands, applying makeup, or styling hair.
Benefits of a Vanity Unit
Investing in a vanity unit offers numerous benefits that enhance the functionality and visual appeal of any living space. Firstly, it maximizes storage efficiency by providing dedicated compartments to organize and store bathroom essentials, reducing clutter and maintaining a neat appearance. Additionally, the countertop surface offers a convenient space for placing commonly used items or decorative elements, further enhancing the room’s aesthetic appeal. Moreover, a vanity units can help streamline daily grooming routines by centralizing essential amenities like the sink, mirror, and storage within easy reach, promoting efficiency and comfort. Finally, from a design perspective, a well-chosen vanity units can elevate the overall look of a bathroom or bedroom, adding a touch of sophistication and style to the environment. Whether it’s for practical storage solutions or enhancing the visual appeal of a space, a vanity unit proves to be a valuable addition to any home.
Materials And Tools Needed:
Materials:
- Plywood Or Mdf Board (For The Body And Doors)
- Hardwood (For The Frame)
- Screws And Nails
- Wood Glue
- Hinges
- Handles/Knobs
- Paint Or Varnish
- Sink And Faucet
- Countertop Material (Granite, Quartz, Or A Pre-Made Countertop)
Tools:
- Measuring Tape
- Circular Saw Or Table Saw
- Jigsaw (For Cutting Out The Sink Hole)
- Drill
- Screwdriver
- Sandpaper
- Paintbrush Or Roller
- Level
- Clamps
Steps To Steps Guide:
1. Measure and Plan
Begin by measuring the space where your vanity-units will be placed. Consider the dimensions of the room and any existing fixtures to ensure proper fit and functionality. Sketch out a rough design or use a digital design tool to plan the layout and features of your vanity-units, taking into account the desired size, shape, and storage options.
2. Cut the Wood

Once you have finalized your design, gather the necessary materials, including wood for the frame and shelves. Using your measurements and design plan as a guide, carefully cut the wood to the appropriate sizes and shapes using a saw or other cutting tools. Take care to make precise cuts to ensure a seamless fit during assembly.
3. Assemble the Frame
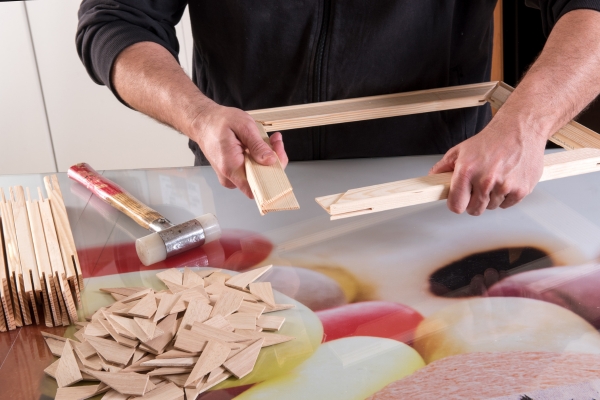
With your cut wood pieces ready, begin assembling the frame of the vanity unit. Use screws, nails, or wood glue to join the pieces together according to your design specifications. Pay close attention to ensure the frame is sturdy and square, as it will provide the foundation for the rest of the unit.
4. Attach the Shelf
Once the frame is assembled, attach the shelf or shelves inside the cabinet space. Measure and mark the desired placement for the shelf, then secure it in place using screws or brackets. This shelf will provide additional storage space and help organize the contents of your vanity unit.
5. Create the Cabinet Doors
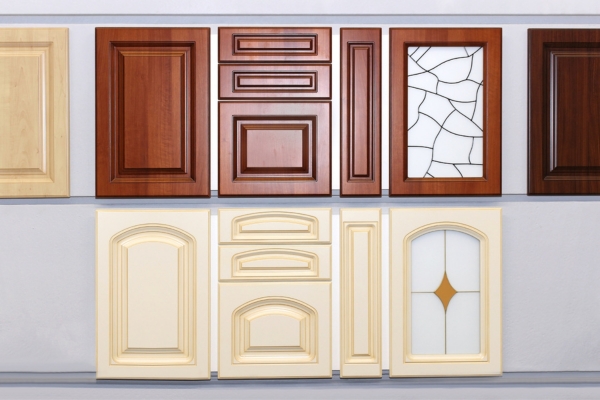
Next, construct the cabinet doors that will conceal the storage space below the sink. Cut wood panels to the appropriate size for the doors, then attach hinges to one side of each panel. Mount the doors onto the frame of the vanity-units, ensuring they open and close smoothly. You can add handles or knobs for ease of use and aesthetic appeal.
6. Cut Out the Sink Hole

Mark the location of the sink on the countertop and use a jigsaw or hole saw to cut out the hole. Take precise measurements to ensure the sink fits securely into place. Once the hole is cut, install the sink according to the manufacturer’s instructions, sealing it securely to prevent leaks.
7. Attach the Countertop
After constructing the frame and shelf of your vanity-units, it’s time to attach the countertop. Choose a countertop material that complements your design and suits your needs, such as granite, marble, quartz, or laminate. Place the countertop on top of the frame, ensuring it aligns properly and overhangs evenly on all sides. Secure the countertop to the frame using screws or adhesive, following the manufacturer’s recommendations for installation.
8. Install the Sink and Faucet
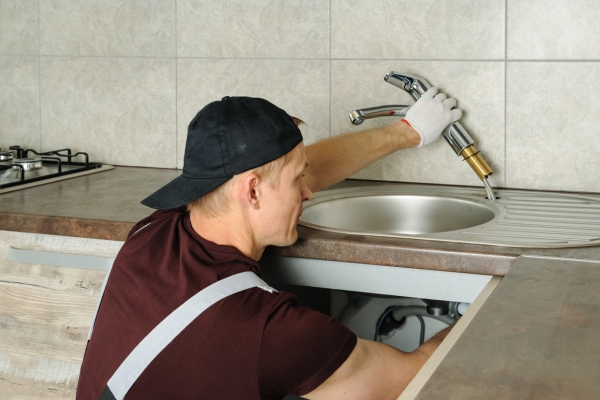
With the countertop in place, proceed to install the sink and faucet. Position the sink within the pre-cut hole in the countertop, making sure it fits snugly and sits level. Attach the sink to the countertop using clips or mounting hardware provided with the sink. Then, install the faucet according to the manufacturer’s instructions, connecting the water supply lines and ensuring a tight seal to prevent leaks.
9. Finish the Vanity
Once the sink and faucet are installed, take time to add any finishing touches to your vanity-units. This may include applying a protective sealant to the countertop, painting or staining the wood frame, or adding decorative elements such as trim or molding. Make sure all hardware is securely attached, and any exposed edges are smoothed or finished for a polished look.
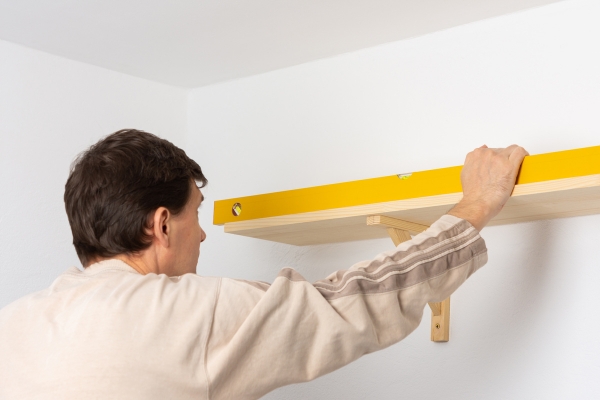
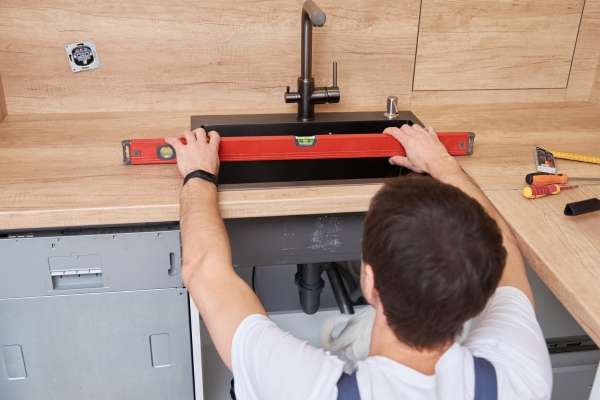
10. Install the Vanity-Units
Finally, it’s time to install the completed vanity unit in its designated space. Carefully lift the unit and place it in position, ensuring it is level and secure against the wall. Use shims or adjustable feet to level the unit if necessary, and anchor it to the wall studs for added stability. Once installed, double-check that all plumbing connections are secure and functioning properly before using the vanity-units.
What is the Best Wood for Vanity-Units?
When selecting wood for a vanity-units, it’s essential to choose a species that can withstand the moist environment of a bathroom while also providing durability and aesthetic appeal. Some popular options include oak, maple, cherry, and walnut, as these hardwoods are known for their strength and resistance to moisture damage. Additionally, you may consider using engineered wood or moisture-resistant plywood for added durability and stability in humid conditions. Ultimately, the best wood for your vanity-units will depend on your personal preferences, budget, and the overall design aesthetic you wish to achieve.
Conclusion
Constructing a vanity-units requires careful planning, precise measurements, and attention to detail. By following these step-by-step instructions and choosing the right materials, you can create a custom vanity-units that enhances the functionality and beauty of your bathroom or bedroom space. From selecting the wood and assembling the frame to installing the sink and finishing touches, each step plays a crucial role in bringing your vision to life. With patience and craftsmanship, you can enjoy the satisfaction of a DIY vanity unit that reflects your style and meets your needs.

