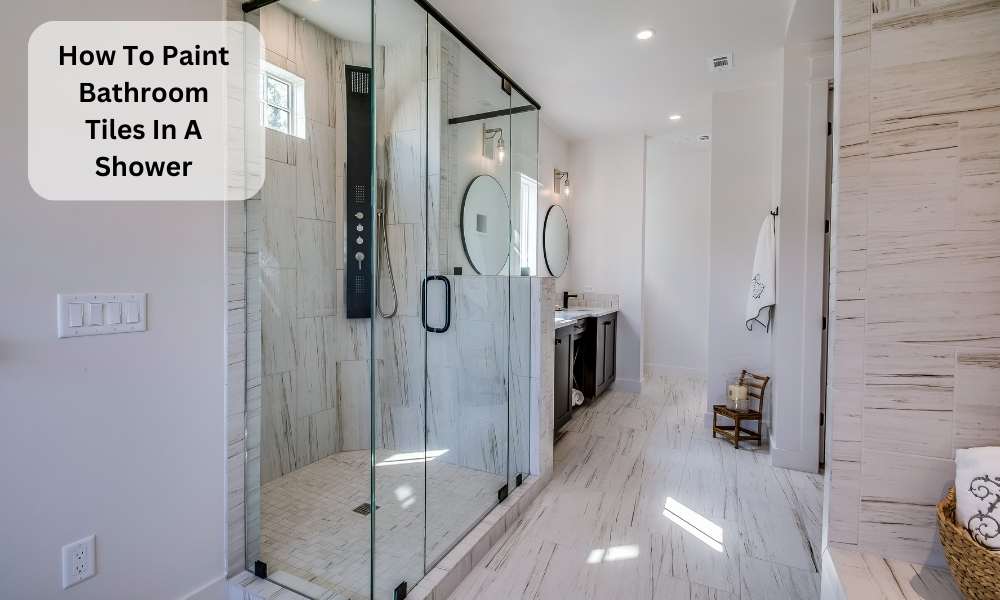
Perhaps you’re yearning for A fresh and trendy look, but the cost of replacing tiles seems too much. Don’t fret – there’s A simple, budget-friendly solution. Welcome to the world of painting bathroom tiles! Yes, You heard It right. You can transform your shower area dramatically by just changing the color of your tiles. This comprehensive guide will walk you through the process of how to paint bathroom tiles in A shower – from preparation And priming to painting and curing. With A little patience and the right techniques, you can turn your shower from drab to fab, Creating A space that’s not just functional, but A true reflection of your style and taste. So, let’s get those brushes ready And embark on this transformative DIY journey together.
What Kind Of Paint Will Stick To Bathroom Tile?

If you’re thinking of painting your bathroom tiles, The first question often is, “What kind of paint will stick to the bathroom tile?” The answer is specialized tile paint or high-quality latex paint. Tile paint is specially formulated to bond with the glossy surface of tiles, making it a popular choice. Alternatively, latex paint can also be used, but it requires a bonding primer to ensure it sticks well to the tiles. Whichever you choose, it’s essential to look for paints that are moisture and mildew-resistant, given the bathroom’s humid environment.
Choose The Right Paint And Supplies

Once you’ve decided on the paint type, gather the necessary supplies. This includes a high-quality paintbrush and roller for application, painter’s tape for creating clean lines, sandpaper for surface preparation, and a sealant to protect your newly painted tiles. Choosing the right paint and supplies is the first step toward a successful tile painting project.
Clean The Tiles Thoroughly

Now that you have your paint and supplies, It’s time to prep the tiles. Start by cleaning them thoroughly. The tiles should be free of soap scum, Mold, And mildew before painting. A solution of equal parts vinegar and water can be an effective cleaner. Use A scrub brush to clean the tiles and grout lines. Once clean, Rinse the tiles well and let them dry completely. This step is critical to ensuring the paint adheres well to the tiles, Preventing peeling And flaking down the line. Painting your bathroom tiles can be A great way to freshen up your space without A complete remodel. With the right paint and prep work, You can transform your shower and enjoy a new look in no time.
Repair Damaged Or Chipped Tiles
The very first step to painting bathroom tiles in A shower is to repair any damaged or chipped tiles. If your tiles are damaged, They can compromise the paint job And make the finish appear uneven. Depending on the severity of the damage, You might need to fill in chips with A two-part epoxy or completely replace the tile. Be sure to let any repairs fully dry before moving on. This preparatory step is vital, as it sets the stage for A smooth, flawless paint job, giving your shower A fresh and revamped appearance.
Mask And Protect Surrounding Areas

In any painting project, Protecting the surrounding areas is crucial to maintain the aesthetics And cleanliness of your bathroom. Before you begin painting your shower tiles, ensure that you mask off the areas that you do not want to get painted on, Like the shower fixtures, floor, And walls. Use good-quality painter’s tape And plastic sheeting to safeguard these areas. This step might seem tedious, but it will save you significant cleanup time later And ensure A professional-looking finish.
Select The Appropriate Primer

Choosing the right primer is A critical step in paint bathroom tiles in A shower. The primer helps the paint adhere to the tile surface and prevents It from peeling off due to moisture and heat exposure. Opt for A high-adhesive primer specifically designed for ceramic or porcelain surfaces. This kind of primer forms A strong bond with the tile, providing a sturdy base for the paint. Ensure the primer is waterproof and resistant to mildew, a common issue in bathrooms due to high humidity levels. Proper primer application will ensure the longevity of your paint job and keep your shower looking fresh and vibrant for longer.
Apply The Primer Correctly

The correct application of primer is pivotal to the success of painting bathroom tiles in A shower. Firstly, Thoroughly clean the tiles to remove any dirt or remove bathroom tiles, Soap scum, Or grime. Once dry, Use a roller or brush to evenly apply the primer. Be cautious not to leave any drips or thick spots, as they can show through the final paint job. For best results, apply two thin coats of primer instead of A single thick one. Allow the primer to dry fully according to the manufacturer’s instructions. This crucial step will ensure A strong bond between the tile and the paint, Leading to A durable, long-lasting finish.
Properly Mixing The Paint

Before you begin to paint your bathroom tiles shower, It’s essential to mix the paint properly. Using A stirring stick, Stir the paint until It reaches A uniform consistency. Make sure to scrape the sides And bottom of the paint can to fully integrate any separated components. If you’re using A two-part epoxy paint, Which is recommended for its durability in high-moisture environments, Carefully measure And mix the two components according to the manufacturer’s instructions. This step ensures that the paint is ready to provide an even, Vibrant, And resilient finish.
Apply The Paint Onto The Tiles

Now that your primer is dry and your paint is mixed, It’s time to apply the paint to the tiles. Using A high-quality brush or roller, Evenly apply the paint in thin layers. Be patient And take your time to avoid drips or streaks. Aim for multiple thin coats rather than one thick one for A smoother finish. Remember to let each coat dry fully before applying the next. Following this method ensures your painted tiles will have a glossy, professional-looking finish, transforming your shower from tired and dated to fresh and modern.
Dry And Cure

After applying the paint, the critical phase of drying and curing begins. This is not just about letting the paint dry to the touch, but about allowing it to fully harden and adhere to the tile surface. Ensure that the bathroom remains well-ventilated and dry during this period. Avoid using the shower for several days or as recommended by the paint manufacturer. This patience may be a test, but it ensures that the paint forms a hard, durable surface that can withstand the humidity and wear and tear of a bathroom. Proper curing guarantees that your freshly painted tiles will maintain their new look and integrity for a longer time, even under the daily stress of showers.
The Final Thought
Paint bathroom tiles in A shower is A cost-effective and impactful way to revamp your bathroom’s aesthetics without undergoing A complete renovation. It requires careful preparation, Selection of appropriate materials, meticulous application, And patient curing. Although the process might seem daunting, The transformation it brings to your bathroom is rewarding. Remember, it’s not about rushing through the process but about doing each step right. With patience, Precision, And the right technique, you can effectively give your shower tiles A vibrant new life, transforming your bathroom into A space that echoes your style And personality.

