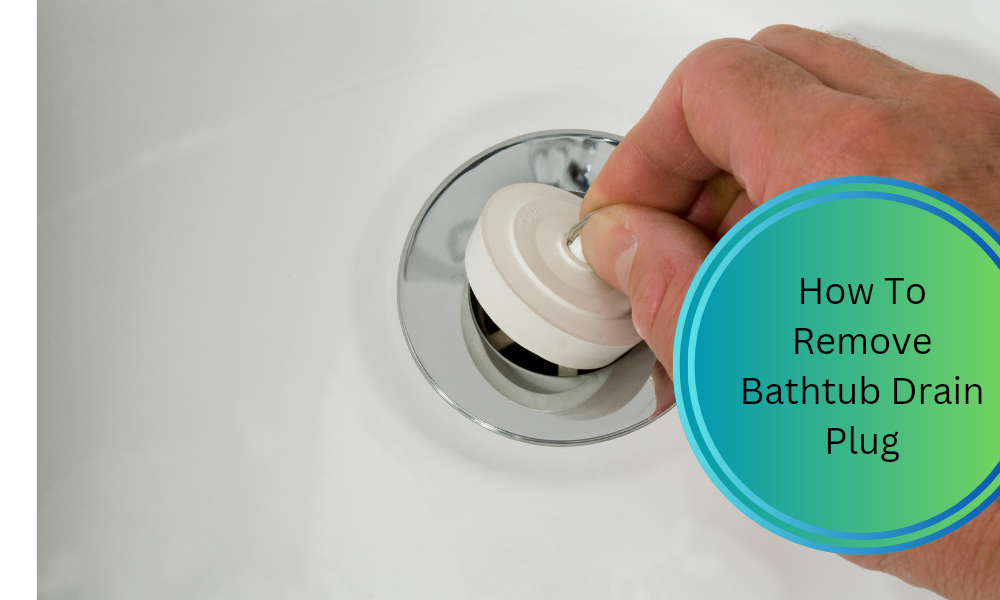
Remove a bathtub drain plug is a crucial household task that can significantly improve the functionality of your bathtub and prevent drainage issues. Over time, these drain plugs can accumulate debris, hair, and soap scum, leading to slow drainage or blockages. By learning how to remove them, you can ensure that water flows smoothly down the drain, preventing potential plumbing problems in the future. To successfully undertake this task, you will need a few essential tools and materials, including pliers, a screwdriver, a drain removal tool, safety goggles, gloves, a bucket, and rags for cleanup. In this guide, we will walk you through the process of removing a bathtub drain plug safely and efficiently.
Why remove a bathtub drain plug at all?

Removing a bathtub drain plug is essential for maintaining proper drainage and preventing potential plumbing problems. Over time, these drain plugs can accumulate debris, soap scum, and hair, leading to slow water drainage or blockages. This can result in standing water in your bathtub, which is not only inconvenient but also unhygienic. By regularly removing and cleaning the drain plug, you ensure that water flows smoothly down the drain, allowing for a more enjoyable and trouble-free bathing experience. Additionally, it helps extend the lifespan of your plumbing system, saving you from costly repairs in the long run.
Safety Precautions
When removing a bathtub drain plug, prioritizing safety is paramount. It’s crucial to highlight the importance of wearing safety goggles and gloves throughout the process. Safety goggles protect your eyes from potential splashes or debris, ensuring your vision remains clear. Gloves provide a barrier between your skin and any chemicals or grime encountered during the removal. Furthermore, it’s essential to emphasize the necessity of working in a well-ventilated area. Adequate ventilation helps disperse any fumes from cleaning products and ensures you have access to fresh air while working, promoting a safer and more comfortable environment during the task.
Gather Tools and Materials
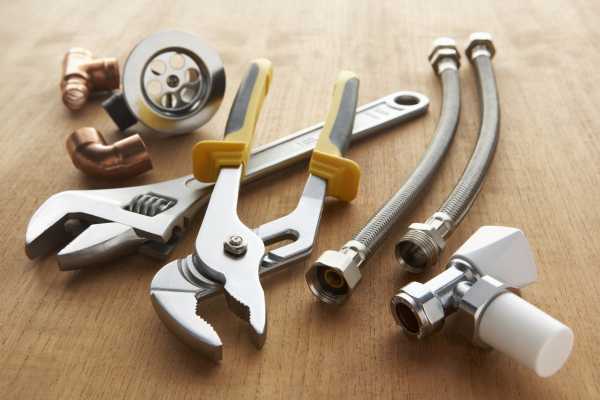
Gathering the necessary tools and materials is the initial step in successfully removing a bathtub drain plug. Essential tools include pliers for gripping and turning the drain plug, a screwdriver for removing any screws or cover plates, and a drain removal tool to assist with the extraction. Additionally, preparing materials like a bucket and rags is crucial for containing any water or debris that may be encountered during the process, simplifying cleanup afterward. Having these tools and materials readily available ensures a smooth and efficient removal process, minimizing any potential disruptions or delays.
Identify the Type of Drain Plug
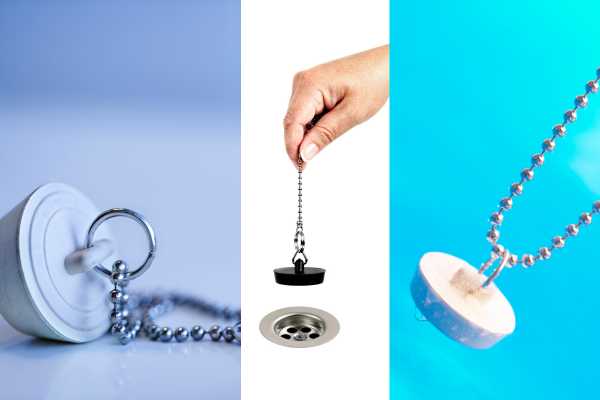
Identifying the type of bathtub drain plug is a crucial step in the removal process. There are various types, including pop-up, push-pull, and toe-touch drains. Pop-up drains are typically controlled by a lever or knob on the overflow cover plate, allowing you to lift and lower the stopper. Push-pull drains operate by pushing or pulling the plug to open and close the drain. Toe-touch drains are activated by pressing them with your foot. To identify the specific type in your bathtub, closely inspect the drain area and any visible mechanisms. Look for any visible handles, knobs, or mechanisms that may indicate the type, and refer to your bathtub’s manufacturer instructions if necessary. Accurate identification ensures you follow the correct removal procedure for your drain plug type.
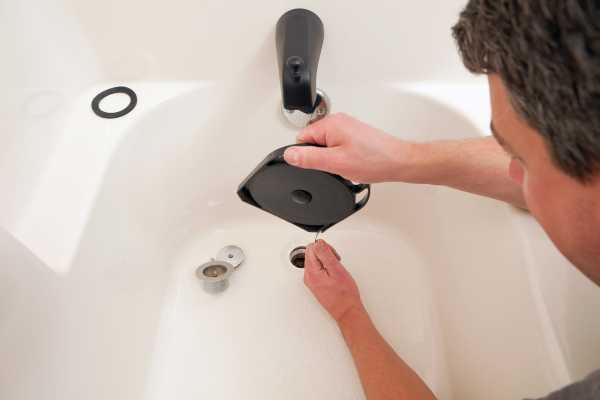
Remove the Overflow Cover Plate
Removing the overflow cover plate is a pivotal step in gaining access to the bathtub’s drain mechanism. To begin, locate and remove the screws securing the cover plate in place. These screws are typically found around the perimeter of the plate. Once removed, carefully set aside both the cover plate and the screws. Keeping them for later reassembly ensures that the bathtub’s overflow system can be properly restored once the drain plug removal is complete, maintaining the functionality and appearance of the bathtub.
Remove the Drain Plug

Removing the drain plug is a critical step in the process. To do this, use pliers or a drain removal tool to grip the drain plug securely. Turn the drain plug counterclockwise to loosen it. It’s essential to apply steady and controlled pressure while turning to avoid damaging the plug or the surrounding drain components. Ensuring a firm grip and turning motion will help disengage the plug smoothly, making the removal process more efficient and preventing any unintended harm to your bathtub’s drainage system.
Clean and Inspect

Cleaning the removed drain plug is essential to maintain proper drainage. Rinse the drain plug thoroughly to remove any accumulated debris, soap scum, or hair. You can use a brush or a toothbrush to scrub away stubborn residue. Additionally, take a moment to inspect the drain itself for any visible damage or lingering debris that might have contributed to the blockage. Removing any remaining obstructions and ensuring the drain is in good condition will help prevent future clogs and ensure the efficient operation of your bathtub’s drainage system.
Reassemble
Reassembling the components is the final step in this process. Begin by reattaching the drain plug; simply insert it back into the drain opening and turn it clockwise until it is securely in place. Be sure it is snug but avoid over-tightening to prevent damage. Next, reinstall the overflow cover plate by positioning it over the overflow opening and aligning it with the screw holes. Secure it firmly in position by tightening the screws in a clockwise direction. This step ensures that both the drain plug and the overflow system are properly restored, allowing your bathtub to function smoothly and preventing any potential leaks.
Test the Drain
After reassembling the components, it’s crucial to test the drain to confirm its proper functionality. Turn on the water and allow it to flow into the bathtub. Observe how the drain plug operates, ensuring it opens and closes smoothly as intended. Additionally, keep an eye out for any potential leaks around the drain or overflow cover plate. Testing the drain not only validates the success of the removal and reassembly process but also helps identify any lingering issues that may require further attention, ensuring your bathtub is in optimal working condition.
Final Cleanup

In the final cleanup stage, it’s essential to attend to any mess left behind. Begin by wiping down any spilled water or debris in and around the bathtub area, ensuring a clean and dry surface. Dispose of any waste materials, such as hair or grime, in a trash receptacle designated for such materials. Proper disposal prevents potential clogs in your plumbing system and maintains a hygienic bathroom environment. Completing this cleanup ensures that your bathtub is not only fully functional but also left in a clean and tidy state.
The Final Thought
Removing a bathtub drain plug involves a series of key steps that begin with gathering the necessary tools and materials, identifying the drain plug type, and removing the overflow cover plate. The pivotal moment is when you successfully remove the drain plug itself, followed by cleaning and inspecting both the plug and the drain. Reassembly of components, including the overflow cover plate, ensures proper functionality. Lastly, testing the drain and conducting a thorough cleanup complete the process. Regular maintenance of your bathtub drain is vital to prevent future clogs and maintain a smoothly functioning plumbing system. By following these steps and practicing routine upkeep, you can ensure the efficient operation of your bathtub for years to come.

