Mold is A common problem that many homeowners face, Especially in damp And humid areas like bathrooms. Not only does Tt create an unpleasant appearance on bathroom tiles, but It can also pose serious health risks if left untreated. Removing mold from bathroom tiles might seem like A daunting task, But with the right techniques and tools, You can effectively eliminate this stubborn fungus And prevent its regrowth. In this article, We will provide you with A comprehensive guide on how to remove mold from bathroom tiles, Ensuring that your bathroom remains clean, hygienic, and free from harmful pollutants. So let’s dive into the step-by-step process of eradicating mold and reclaiming the pristine condition of your bathroom tiles!
Is Bleach Or Vinegar Better To Kill Mold?

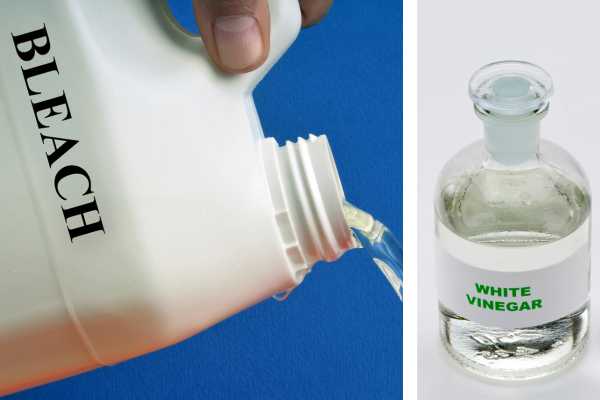
Mold is an unwelcome intruder in any household, but its preference for damp environments makes the bathroom a favorite. One common question in mold remediation is which cleaning solution is better – bleach or vinegar? Both are efficient, yet they operate differently. Bleach is effective for removing mold on non-porous surfaces, but it merely bleaches the mold’s color, leaving behind roots that can lead to recurrence. Vinegar, on the other hand, can kill up to 82% of mold species, including the dangerous black mold. It penetrates porous surfaces, killing mold at the roots. Though it leaves a strong smell, this dissipates within a few hours. Hence, while bleach may offer an instant aesthetic solution, vinegar provides a deeper, more lasting remedy.
Importance Of Maintaining A Free Bathroom

A mold-free bathroom is not just about cleanliness; It’s about health. Mold spores can exacerbate allergies, Cause respiratory issues, And sometimes lead to serious health complications. Bathrooms are high-humidity areas, Making them ideal breeding grounds for mold. As such, Maintaining A mold-free bathroom is essential for overall home hygiene. Regularly inspect your bathroom for mold, particularly on tiles, Shower curtains, And grout lines. Regular cleaning, Proper ventilation, And mold-resistant products can significantly reduce mold growth. By prioritizing A mold-free bathroom, You’re ensuring clean bathroom tiles, Inviting space, And promoting your household’s health And well-being.
Clear The Area And Remove Clutter

Before you start the process of mold removal, It’s crucial to clear the area and remove any clutter. Bathroom items such as toiletries, Bath mats, Towels, And shower curtains can harbor mold spores, Contributing to the spread. Removing these items helps prevent cross-contamination And makes the cleaning process easier. After removing them, it’s advisable to wash or sanitize them where possible. Additionally, Clutter-free surfaces allow you to identify hidden mold patches easily, Thus ensuring A thorough cleaning process. Wearing protective gear like gloves and masks during this process is vital to protect yourself from exposure to mold spores. A decluttered bathroom gives you the freedom And the ease to tackle mold infestations, setting the stage for A successful mold eradication campaign.
Turn Off The Water Supply To Avoid Excessive Moisture

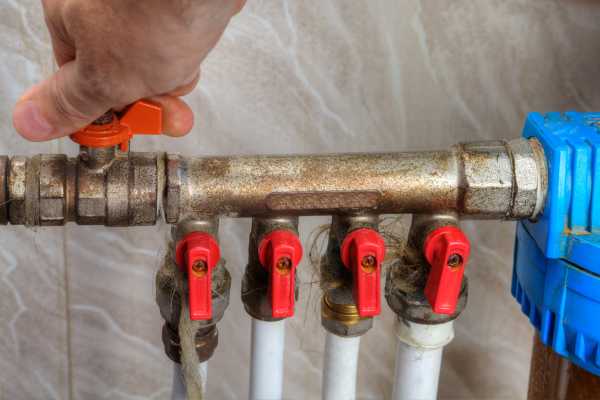
Before you begin your mold removal mission, It’s crucial to turn off the water supply to the bathroom. Excessive moisture provides the perfect environment for mold to thrive, Complicating the removal process. After shutting off the water, Dry out the bathroom as much as possible, Using towels, sponges, or A wet-dry vacuum. This step not only prevents new mold from forming but also makes It easier to remove existing mold. Ensure to keep the area ventilated during this process. Opening A window or using A fan can help expedite the drying process. It’s also recommended to fix any leaks or water damage as A long-term solution to avoid mold recurrence. Managing the moisture in your bathroom is A key element in effective mold removal And prevention.
Dry Brushing Loose Mold

Before applying any cleaning solutions, Begin the process by dry brushing loose mold. Use A stiff bristle brush to scrub away visible mold from the tiles and grout. Ensure you wear protective gloves, Goggles, And A mask during this process to prevent inhaling mold spores or getting them on your skin. As you scrub, Be gentle enough not to damage the surfaces but firm enough to remove the mold. It’s advisable to vacuum up the loosened mold spores immediately using A vacuum with A HEPA filter to prevent them from spreading. This step helps to reduce the amount of mold And makes the subsequent cleaning with solutions more effective. Dry brushing is an initial, Significant step in the battle against bathroom mold.
Prepare And Apply The Cleaning Solution

Having dry brushed the area, you’re now ready to prepare and apply your cleaning solution. As we discussed earlier, vinegar is an effective natural remedy to kill mold. To use vinegar, spray it undiluted on the affected areas, let it sit for an hour, then rinse and dry the area thoroughly. If you prefer bleach, mix one part bleach with 10 parts water. Spray the solution onto the mold, let it sit for 10 minutes, and then scrub the area with a brush. After scrubbing, rinse and dry the area thoroughly. Always ensure the area is well-ventilated during the process to dissipate the strong smell. Whichever solution you choose, it’s crucial to let it sit for some time to penetrate the mold, kill it, and stop it from coming back.
Gentle Scrubbing Of Mold Infested Areas

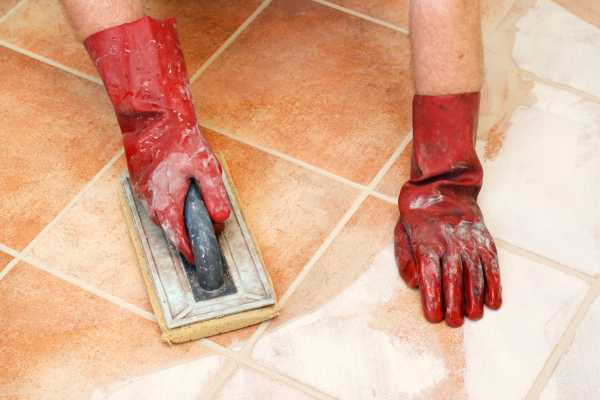
After applying your chosen cleaning solution, the next step in mold removal is gentle scrubbing. Use a scrubbing brush or an old toothbrush for narrow spaces and grout lines. Scrubbing helps to dislodge the mold from the surfaces and enables the cleaning solution to penetrate more deeply. However, remember the keyword here is ‘gentle.’ Excessive force can damage the tile surfaces or the grout, which might lead to more serious issues like water seepage. It is also important to wear protective gear during this process to prevent direct contact with mold and strong cleaning solutions. If you encounter stubborn mold stains that resist scrubbing, reapply the cleaning solution and let it sit for a longer duration before attempting to scrub again.
Rinse And Wipe Down Surfaces

After scrubbing, It’s time to rinse And wipe down the surfaces. Use warm water to rinse off the cleaning solution thoroughly. Not rinsing properly could leave A residue that attracts more dirt And dust, and potentially, More mold. After rinsing, Dry the surfaces thoroughly using a clean, dry cloth or A squeegee. Moisture is the main culprit behind mold growth, So it’s essential to eliminate It as much as possible. Ensure to reach the narrow spaces and corners where water might accumulate. Keeping your bathroom tiles dry is A proactive measure to prevent future mold growth. Furthermore, consider using A dehumidifier or an exhaust fan to keep humidity levels in check. Remember, The fight against mold doesn’t stop at cleaning; It continues with diligent maintenance and prevention.
Dry The Bathroom Properly

After you have completed the mold removal process, It’s crucial to ensure the bathroom is dried properly. Any residual moisture can provide the perfect breeding ground for mold to reappear. You can use towels or A mop to soak up water on the floors And surfaces. However, for comprehensive dry-out, Consider using A dehumidifier or A heater to eliminate moisture in the air and hard-to-reach corners. Keep doors and windows open for natural ventilation if possible. Regularly inspect your bathroom for leaks and fix them promptly. Always remember to keep surfaces as dry as possible after use, especially around sinks, bathtubs, And showers. Taking these steps will significantly reduce the likelihood of mold re-establishing Its unwelcome presence in your bathroom.
The Final Thought
Maintaining A mold-free bathroom might seem like A daunting task, But with the right approach and consistent efforts, it’s very much achievable. The key lies in addressing the root cause, Which is excessive moisture, And ensuring regular cleaning And inspection. From choosing the right cleaning solution, scrubbing, And rinsing, to proper drying, each step contributes to an effective mold removal process. It’s important to remember that safety should always be a priority; hence, never forget to wear protective gear when dealing with mold. Lastly, maintaining low humidity levels and fixing leaks promptly will not only help prevent mold but also contribute to a clean, healthy, and pleasant bathroom environment. Keep your bathroom mold-free and continue to enjoy the comfort and tranquility it offers.


