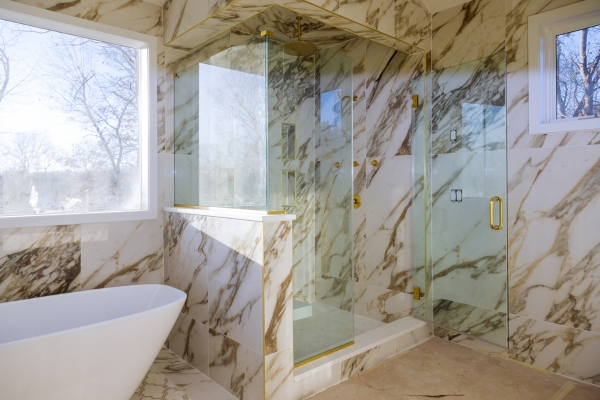
Restore bathroom shower stalls can rejuvenate the entire look and functionality of your bathroom space. Over time, wear and tear, as well as the buildup of grime and mold, can detract from the appeal and hygiene of your shower area. However, with the right tools, materials, and techniques, restoring your shower stall can breathe new life into your bathroom. Whether it’s repairing cracks, replacing tiles, or deep cleaning surfaces, this comprehensive guide will walk you through the step-by-step process of reviving your bathroom shower stall to its former glory, ensuring a refreshing and inviting bathing experience for years to come.
Why Are Bathroom Shower Stalls Restored?
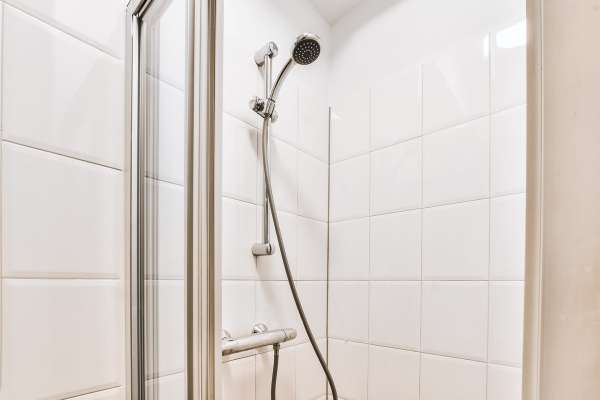
Bathroom shower stalls undergo restoration for a myriad of reasons, primarily revolving around enhancing both the visual appeal and functionality of the space. Over time, wear and tear, coupled with exposure to moisture, can lead to unsightly stains, mold growth, and structural issues. By restoring these stalls, homeowners aim to revitalize their bathrooms, eliminating signs of aging, improving hygiene standards, and ensuring optimal functionality. Additionally, a restored shower stall contributes to the overall value of the property, making it more appealing to potential buyers or tenants. Ultimately, the restoration process not only refreshes the appearance of the bathroom but also creates a more comfortable and enjoyable bathing experience for occupants.
Examine The Shower Stall For Damage
Before diving into the restoration process, it’s crucial to thoroughly examine your bathroom l for any signs of damage. Begin by inspecting the walls, floors, and fixtures for cracks, chips, or areas of discoloration. Pay close attention to grout lines and caulking, as these areas are prone to deterioration over time. Additionally, check for any leaks or water damage that may have occurred behind the walls or under the flooring. Identifying these issues early on will help you plan the necessary repairs and ensure a successful restoration project.
Gather Tools And Materials
Prepare Necessary Tools:
- Screwdriver
- Utility Knife
- Scraper
- Tile Cutter
- Notched Trowel
- Grout Float
- Caulking Gun
- Safety Gear.
Gather Materials:
- Tiles
- Grout
- Adhesive
- Caulk
- Sealant
- Waterproof Membrane
Bathroom Shower Stalls Restore
1. Prepare The Work Area
Before embarking on the restoration journey of your bathroom, it’s imperative to prepare the work area adequately. Start by removing all personal items, such as shampoo bottles and shower accessories, from the vicinity to create a clear and clutter-free space. Next, cover the surrounding floor and fixtures with protective materials, such as drop cloths or plastic sheeting, to prevent any damage or mess during the restoration process. Additionally, ensure proper ventilation by opening windows or using exhaust fans to dissipate fumes from cleaning agents and adhesives. Taking these preparatory steps will not only streamline the restoration process but also safeguard your bathroom from potential damage.
2. Remove Old Tiles And Grout
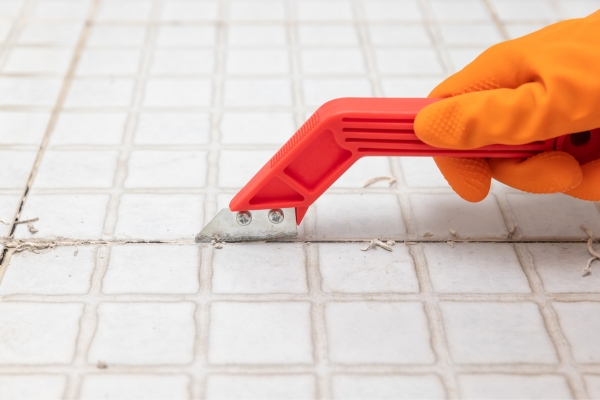
Once the work area is properly prepared, it’s time to tackle the first step in the restoration process: removing old tiles and grout. Using a grout saw or rotary tool, carefully cut through. The grout lines surrounding the damaged tiles to loosen them from the surface. Exercise caution to avoid damaging neighboring tiles during this process. Once the grout has been removed, use a chisel or putty knife to gently pry the tiles away from the wall or floor. Work methodically and patiently to ensure the tiles are removed cleanly without causing any further damage to the underlying substrate. Once all the old tiles have been removed, thoroughly clean the surface to remove any remaining adhesive residue or debris, preparing it for the installation of new tiles.
3. Clean And Repair The Surface
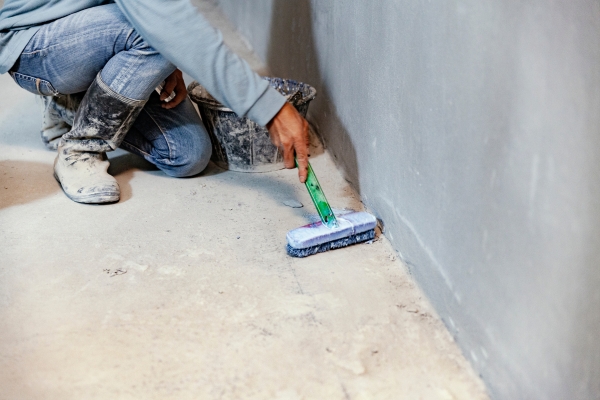
With the old tiles and grout removed, it’s time to focus on cleaning and repairing the surface of your bathroom shower stall. Start by thoroughly cleaning the exposed substrate using a mild detergent or specialized cleaner to remove any dirt, grease, or residue left behind from the old tiles and adhesive. Pay close attention to any areas of damage or deterioration, such as cracks or uneven surfaces, and address them accordingly. Use a suitable patching compound or waterproof filler to repair minor imperfections. Ensuring a smooth and even surface for the installation of new tiles. Once the repairs are complete, allow the surface to dry completely before proceeding to the next step, ensuring optimal adhesion and longevity of the new tile installation.
4. Install New Tiles
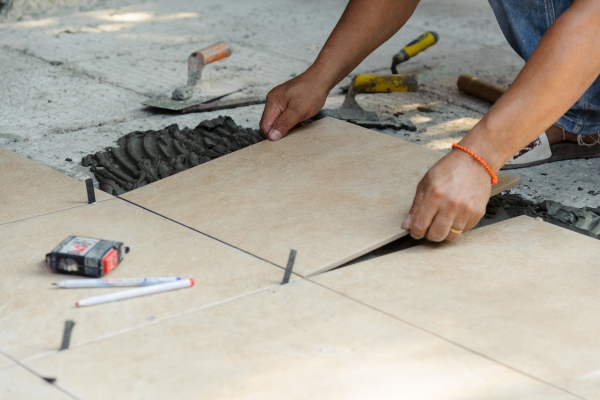
With the surface cleaned and repaired, it’s time to breathe new life into your bathroom shower stall by installing new tiles. Begin by laying out the tiles in your desired pattern, taking care to measure. And cut them as needed to fit around fixtures and along edges. Use a high-quality tile adhesive or mortar to secure the tiles to the substrate, pressing them firmly into place to ensure proper adhesion. Use tile spacers to maintain consistent spacing between tiles and create clean grout lines.
Once all the tiles are installed, allow the adhesive to cure according to the manufacturer’s instructions before proceeding to grout the joints. Mix the grout to the desired consistency and apply it evenly to the joints using a grout float, pressing it firmly into the gaps. Remove any excess grout with a damp sponge, taking care not to disturb the newly installed tiles. Allow the grout to cure completely before using the shower stall, ensuring a durable and waterproof finish that will stand the test of time.
5. Grout And Seal
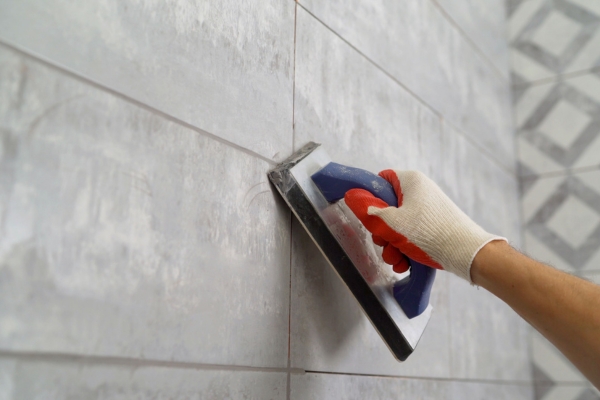
After installing the new tiles and allowing the grout to cure. The next step in restoring your bathroom shower stall is to grout and seal the joints. Begin by mixing the grout to the manufacturer’s specifications, ensuring a smooth and lump-free consistency. Using a grout float, apply the grout diagonally across the joints, working in small sections to ensure thorough coverage. Press the grout firmly into the joints, ensuring they are completely filled and level with the surface of the tiles. Once all the joints are grouted, use a damp sponge to remove any excess grout from the tile surfaces, taking care not to disturb the freshly applied grout in the joints.
Allow the grout to dry completely before proceeding to the sealing step. To seal the grout and protect it from moisture and stains, apply a penetrating grout sealer using a small brush or roller, ensuring thorough coverage of all grout lines. Allow the sealer to penetrate the grout for the specified time before wiping away any excess with a clean, dry cloth. Once the sealer has dried, your newly restored shower stall will be protected against water damage and discoloration, ensuring long-lasting beauty and functionality.
6. Caulk Joints And Edges
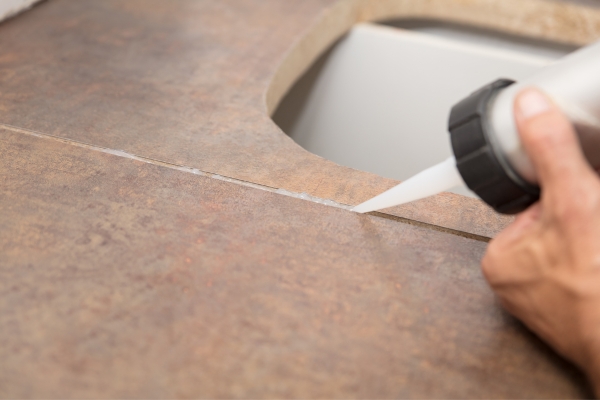
The final step in restoring your bathroom shower stall is to caulk the joints and edges to create a watertight seal and prevent water intrusion. Begin by selecting a high-quality silicone caulk that is specifically designed for wet environments and matches the color of your grout for a seamless finish. Using a caulking gun, carefully apply a thin, even bead of caulk along the joints where. The walls meet the floor, as well as around fixtures and along edges where tiles meet other surfaces.
Use a damp finger or a caulk smoothing tool to smooth the caulk and ensure it adheres firmly to the surfaces. Work in small sections. Wiping away any excess caulk with a damp cloth as you go to achieve a clean and professional-looking seal. Allow the caulk to dry completely before using the shower stall, ensuring. A watertight seal that will protect your newly restored shower stall from leaks and water damage for years to come.
7. Cleaning And Finishing
Once all the grouting and caulking have been completed, it’s time to give your newly restored bathroom shower stall a thorough cleaning and finishing touches. Begin by wiping down the entire surface with a damp cloth to remove any residual grout haze or caulk residue. Pay special attention to the corners and edges to ensure a clean and polished appearance.
Next, use a mild detergent or specialized cleaner to clean the tiles and grout lines, removing any dirt, soap scum, or water stains. For stubborn stains or buildup, consider using a non-abrasive cleaner or a mixture of baking soda and water to gently scrub the surface. Rinse the entire area with clean water and dry it thoroughly with a soft towel or cloth. Once the shower stall is clean and dry, apply a tile and grout sealer to protect the surface and enhance its appearance. Follow the manufacturer’s instructions for application and drying times to achieve optimal results.
8. Final Inspection And Maintenance
With the restoration process complete, it’s time for a final inspection to ensure everything is in order and to establish a maintenance routine to keep your shower stall looking its best for years to come. Take a moment to carefully inspect the entire area, checking for any signs of damage, loose tiles, or areas that may require additional attention. Address any issues promptly to prevent further damage and maintain the integrity of your newly restored shower stall.
Once you’re satisfied with the results, establish a regular cleaning. And maintenance schedule to keep your shower stall looking clean and pristine. This may include weekly cleanings with a mild detergent or specialized cleaner. As well as periodic resealing of the grout and caulking to maintain a watertight seal. By staying proactive with maintenance, you can ensure that your newly restored. Bathroom shower stall remains a beautiful and functional focal point of your home for years to come.
Conclusion
Restoring a bathroom shower stall is a rewarding endeavor that can transform the look and functionality of your bathroom space. By following a systematic approach that includes examining the stall for damage, gathering the necessary tools and materials. And completing each step with care and attention to detail, you can breathe new life into your shower area. From removing old tiles and grout to cleaning, sealing. And adding finishing touches, each step plays a crucial role in achieving a successful restoration. With proper maintenance and upkeep, your newly restored Install shower stall will remain a beautiful and inviting oasis for relaxation and rejuvenation for years to come.

