
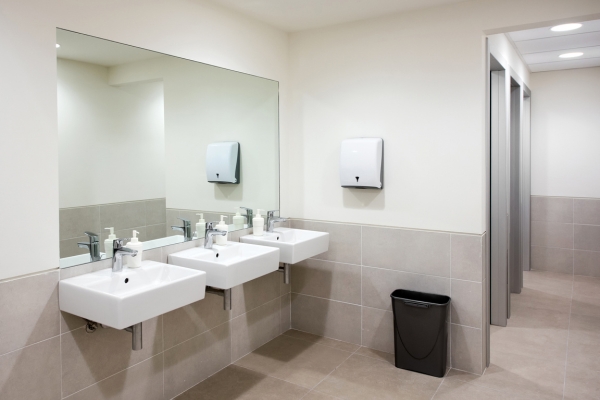
Securing a basin to a vanity unit is an essential task to ensure stability and functionality in your bathroom. Proper installation not only enhances the aesthetic appeal but also guarantees the durability and safety of your bathroom fixtures. This guide will walk you through the steps on how to secure a basin to a vanity unit, providing clear instructions and tips for a successful setup. Whether you are a DIY enthusiast or a professional, understanding the correct method will help you achieve a seamless and secure installation.
How long does it take to secure a basin to a vanity unit?
Securing a basin to a vanity unit is a straightforward task that can typically be completed within a couple of hours, depending on your level of experience and the specific setup of your bathroom. On average, it takes about two to three hours to securely install a basin, including time for preparation, assembly, and drying of any adhesives or sealants used. For those less familiar with DIY projects, it might take a bit longer, but with careful planning and the right tools, the process can be smooth and efficient.
What type of sealant should I use?
Choosing the right type of sealant is crucial for ensuring a durable and watertight bond between the basin and the vanity unit. Silicone sealant is widely recommended for this purpose due to its flexibility, strong adhesion, and water-resistant properties. When selecting a silicone sealant, opt for a high-quality, mold-resistant variety specifically designed for bathroom use. This will help prevent leaks and protect against mold growth, ensuring that your basin remains securely attached and maintains its appearance over time. Proper application of the sealant is essential, so be sure to follow the manufacturer’s instructions for the best results.
Materials Needed:
- Basin
- Vanity Unit
- Silicone Sealant
- Mounting Brackets (If Provided)
- Screws
- Screwdriver Or Drill
- Measuring Tape
- Pencil
- Spirit Level
- Plumber’s Putty (If Needed)
Steps To Steps Guide
1. Prepare The Area

Before starting, ensure the vanity unit is correctly assembled and positioned. Clean the surface of the vanity unit where the basin will sit, removing any dust or debris. Check that all plumbing connections are in place and working. Having a clean, dry, and stable surface is essential for a secure installation.
2. Position The Basin

Carefully place the basin on top of the Fix Sink To Vanity Unit to check the fit. Ensure it is centered and aligned properly with the vanity unit and the plumbing connections. Mark the position lightly with a pencil to guide you during the final placement. This step helps to avoid any mistakes when applying the sealant.
3. Apply Silicone Sealant

Using a high-quality silicone sealant, apply a continuous bead around the edge of the vanity unit where the basin will sit. Make sure the bead is even and not too thick to avoid excess sealant squeezing out when the basin is placed. The silicone sealant acts as a waterproof barrier and adhesive, securing the basin to the unit.
4. Place The Basin
Carefully lower the basin onto the vanity unit, following the pencil marks made earlier. Press down gently but firmly to ensure the basin adheres to the sealant. Wipe away any excess sealant that oozes out with a damp cloth before it dries. Allow the sealant to cure for the time recommended by the manufacturer, usually 24 hours, to ensure a strong bond.
5. Secure With Mounting Brackets (If Provided)
If your basin and vanity unit come with mounting brackets, use them for additional security. Attach the brackets according to the manufacturer’s instructions, ensuring they are tightly secured. This provides extra stability and prevents any movement of the basin over time.
6. Check Alignment And Level

After placing and securing the basin, use a spirit level to check that it is perfectly aligned and level. Adjust if necessary by repositioning the basin or adjusting the brackets. Ensuring the basin is level is crucial for both functionality and appearance.
7. Connect Plumbing

Once the basin is securely in place and level, connect the plumbing fixtures. Attach the faucet, drain, and any other necessary plumbing components. Ensure all connections are tight and there are no leaks. This step may require some adjustments to ensure everything fits perfectly.
8. Let Sealant Cure
Allow the silicone sealant to cure fully, as per the manufacturer’s instructions. This typically takes around 24 hours. Avoid using the basin during this time to ensure the sealant sets properly and creates a strong bond.
Conclusion
Securing a basin to a vanity unit involves careful preparation, precise placement, and proper use of sealant and mounting brackets. By following these steps, you can achieve a secure, stable, and aesthetically pleasing installation that will enhance the functionality and look of your bathroom. With patience and attention to detail, this DIY project can be accomplished efficiently, ensuring long-lasting results.

